Little less stressed now after a few weeks being overworked.

Right as one on my side projects is now done for another month. i can get back to doing enjoyable bits and get to finally clean up my workspace. get everything up and running and ready to work.

So last nights and tonight project is a freebie for my son’s nursery sports day for the toddler group some medals. with the heatwave starting to rush in not sure how much i can do over the next day or so but going to crack on and get the last 28 medals run tonight water temps allowing.

Designed a 2D trophy to give to the toddler and baby rooms of son’s nursery 28 per sheet.

I taped up some 3mm plywood after i had sanded both sides with 400 grit sanding disc. placed it on my honeycomb bed top left. hit play and away the 50-watt laser went. i decided to crudely wire up my water temp gauge the water temp had started out at around 22c when i started to engrave

around 1hr later after the hole sheet had engraved the water temp was up a 29.9c

My temp wired water gauge in side ambient room temp gauge

This is my first attempt at mass production of a product and was an approx 2 hr of engraving and cutting of the medals with the worry of water temp raising 33.2c.

getting hot need a chiller.

this fun little project had given me some worries about water temperatures in the man cave.

I had found an original CW-5000 for £399 they had 11 in stock yesterday went to order today and they have sold out argh so going to bag some ice tonight and add to my distilled water.

Day 2 of opperation sports day medals and getting the mancave to opperatnal .

27 medals to go do love my 50watt laser so reliable fired up laser loaded lightburn put the new sheet of taped plywood and away we go.

final 4 engraving before the cut out pass.

All done and now to take all the tape off them 1 down 37 to go

taken off the tape off yash medal. going to also wipe with wihite viniger.

been a busy night on the tidying the cave now have a clean work bench getting a lot or the draws labeled up as need some organisation in the cave. starting to come together.

That’s me done for the night next operation is sorting the large form printer and my Prusa Mk3 both back online thinking about making some wall mounted spool holders as my enclosed one seem to be jamming up on me. Need to get the CR-10 up and working as well have to calibrate the machine.

Next project on the laser I have a stack of placemats to engrave for our holiday let but going to have to watch the weather and clean out the water tank and replace the dirty water. so will be doing that over the next week will cover the process and the tidying up of the cave at the same time.
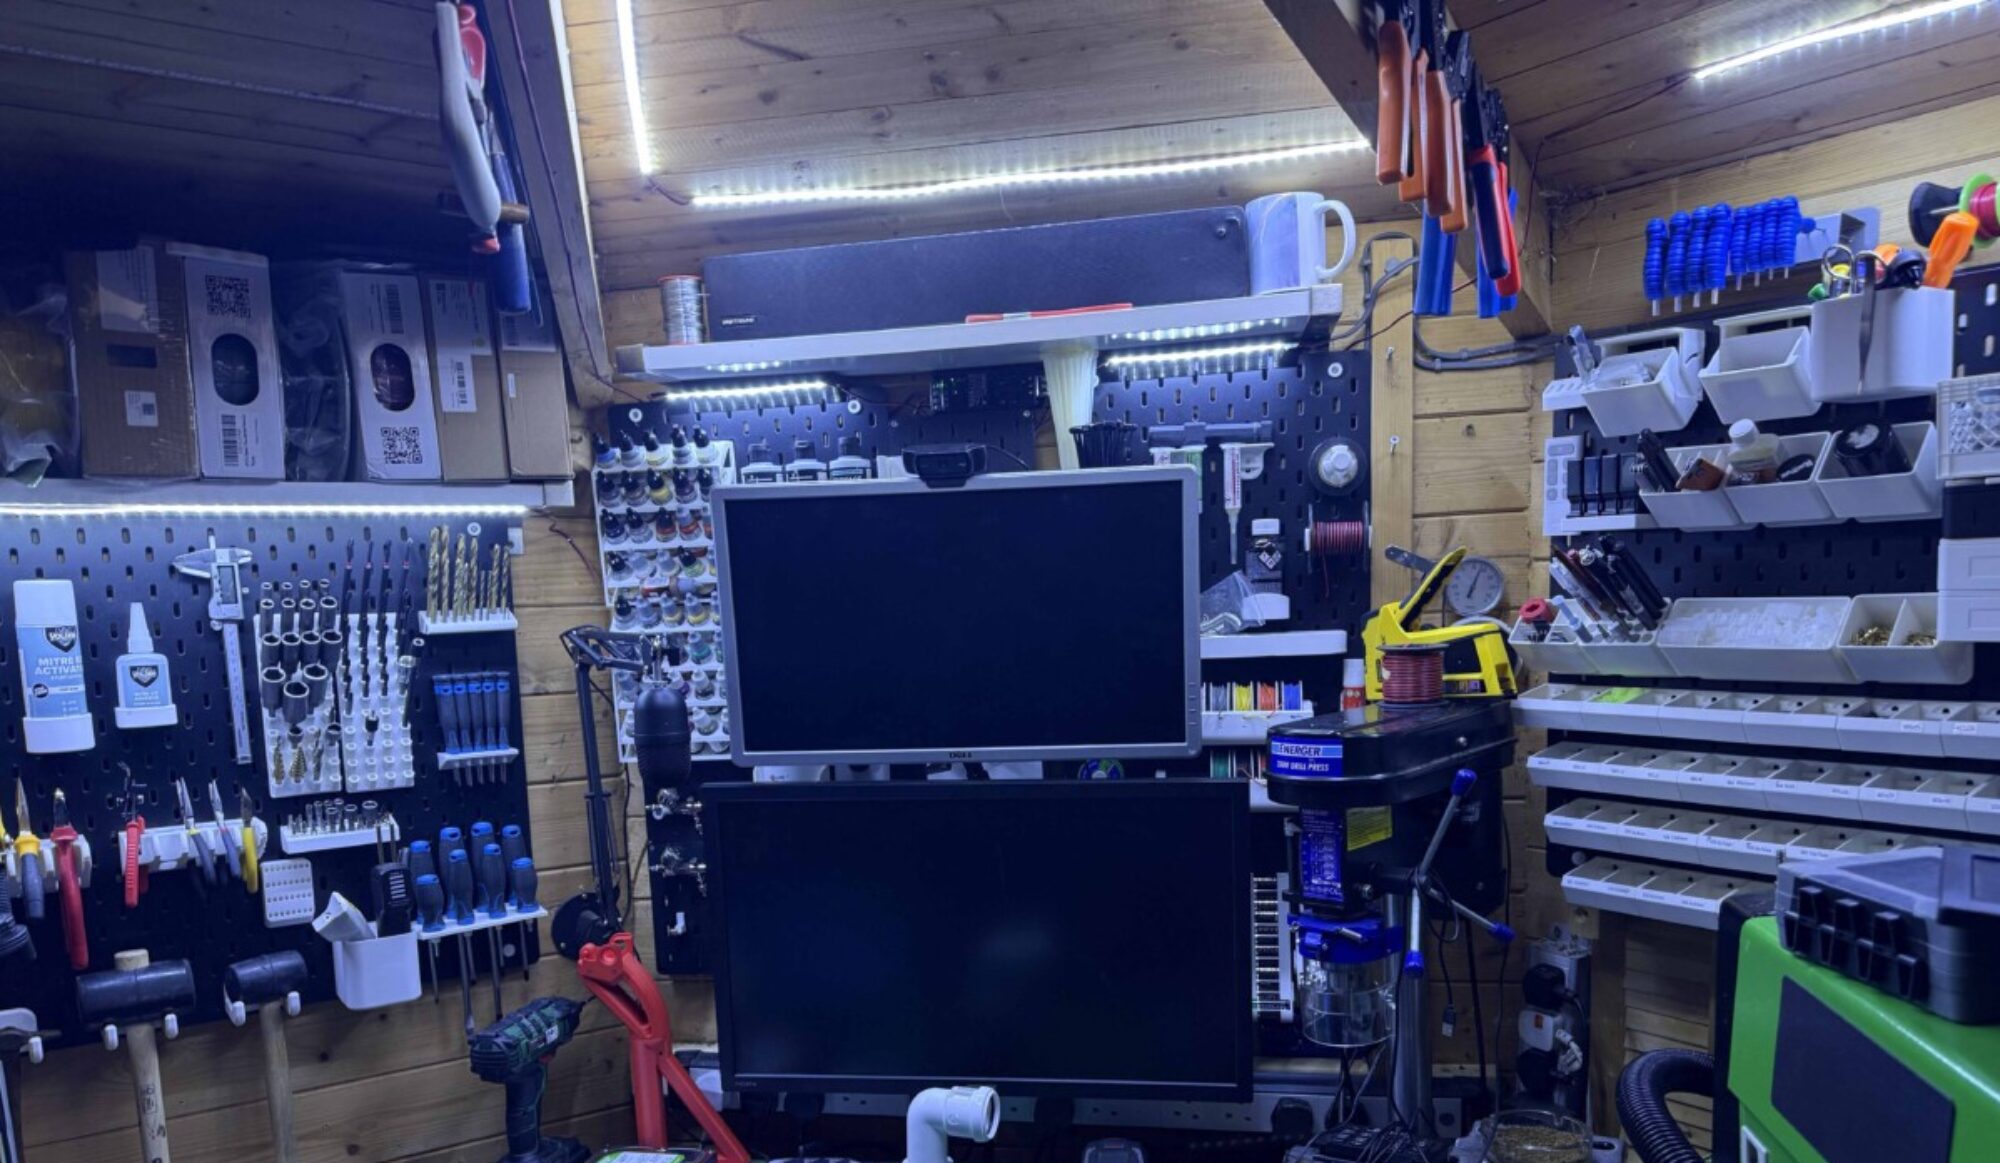
Spring cleaning in progress as fed up of not being able to use all my machines lack of space.

Have in a three-meter Octagon is not the easiest of places to house as much equipment as i have. also as it has windows on 4 sides. So as i have Wednesday off with my son i had been into the local DIY store to grab some screws bits for another project i have been doing. This was a few weeks ago.

I picked up some 10 cm x 5 cm timber and sheet of plyboard to make a cover that went over the winds so i could mount my parts boxes. i had managed to hand saw down the sheet of ply and mounted over the window.

i then added screwed new parts draw i had picked up in the Aldi for £8.99 and my Budweiser sign. looked ok but was just a place to put parts.

Window cover board that i put to give me more storage space.

It worked well but was not quite what i wanted. I had just designed a template for holding Placemat and Coaster.

New jig for holding wooden placemats as have a dinner set to do for our house.

I then started to run a batch of placemats and coasters for our holiday rental property.

Engraved in Wooden placemat The Hollies Logo our rental property in wales.

As this was running I thought i would make a start reorganising things. so the Budweiser sign has been relegated to the attic. i move 2 of my other parts boxes around and dump bins allowing for a new shelf.

makes more sense having all my nuts and bolts fuses crimps and components in one place.

I then moved the dump bins racking so they were next to each other. I had an IKEA shelf we were going to use in the house. that i have installed for the moment above the racking.

This image has an empty alt attribute; its file name is 2019-06-19-23.17.29.jpg
Just got to sort through all dump bins and add to other storage.

i have started to print brackets for filament storage from the 3D printing nerds channel. So i will have shelving for the 2 boxes of filament i have freeing up more space hopefully. However, my Prusa decided to jam yesterday so will have to wait till come back from wales next week to fix.

Just before we it decided to jam up.

As i am working on the map and paid jobs i thought i would get everything up and running and remove bits i don’t need down to wales.

As then can do stuff when i am not in London so my K40 is going to be shipped off to wales along with the Prusa MK2s MMU and clear some space up for stock and parts.

this will be happening next month as will use a man and a van to transport bed and other bits as holiday rental property we have been developing is finally coming online should be available to rent in the next few months.

Next racking unit to sort is the CNC and vinyl cutter as its become a dumping ground and remove redundant bits ie water buckets for cooling as changed for a smaller type.

will be nice to actually get in the cave and be able just to work. Will be adding a download section to the web site so all my projects can be downloaded for free. maybe a project section to get some feedback and collaborate with some other bloggers.

Right got a 208 mile drive later after the day job hoping it will be a easy run.

Let’s start a fun project for a change. Part 3 (At last)

Sorry for the delays in getting part 3 out i have had some teething issues with the lightburn but i have got a new way of tackling the issue.

The plan

going to break the cost up into a matrix grid of 8 squares and then cut the outline this will then be glued on to a bigger ply board that has been washed in blue to give sea effect.

after that, i will then cut each individual counties for wales. and then apply them to the large scale map.

Ok so that is the map sorted its now road names and places that i have to figure out how to apply. one mode of thinking is that just engrave them over the top of the counties another one is cut them out and glue them on top of the map. this will be my next thing to play with will post images of progress and testing as i so please bear with me.

now to find a some one to cut me a 1001 mm x 909 mm 6mm bit of plywood to act as backing board wilts i play with ideas on adding roads names and places of interest.

the joys of developing Technics for this fun project. next part to follow soon.