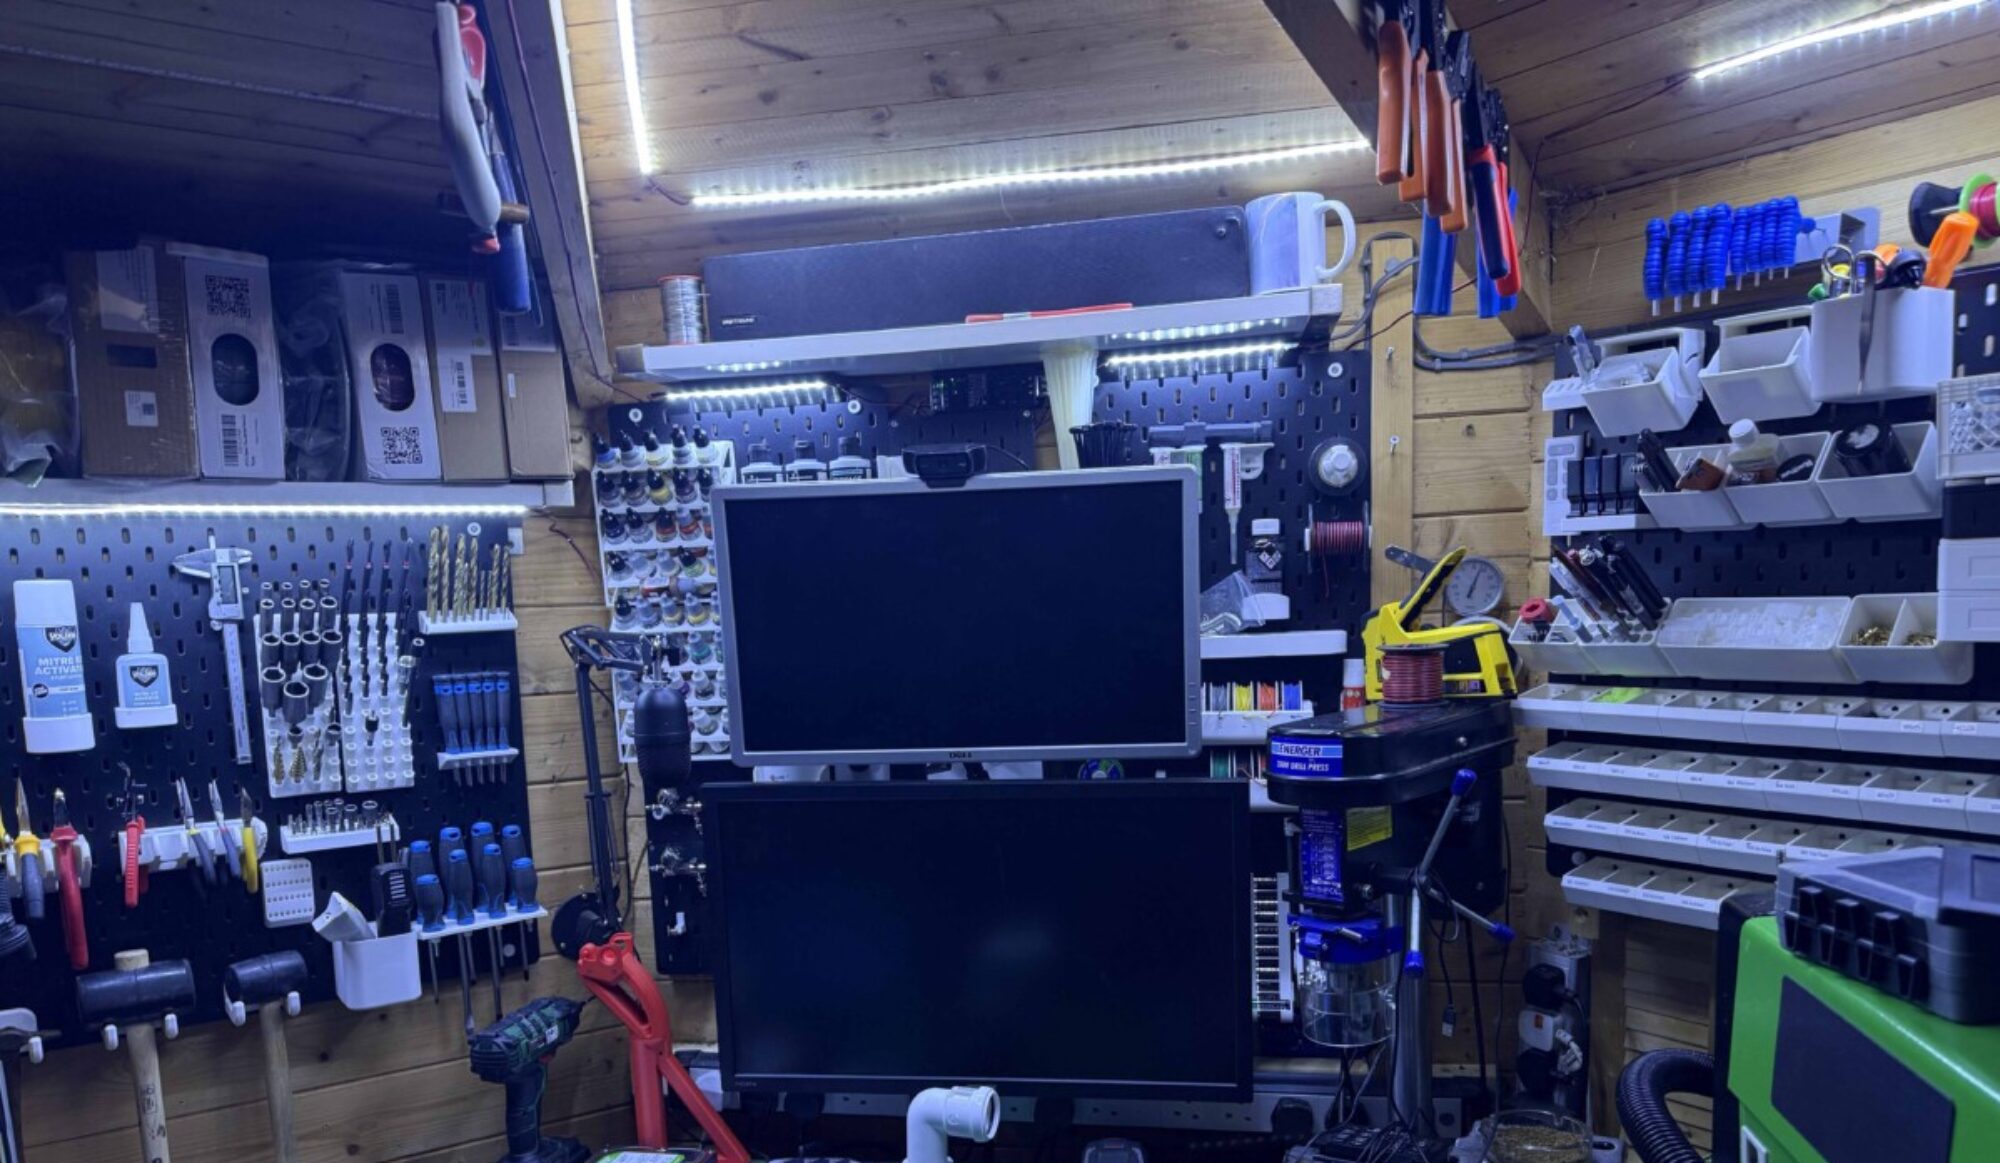
Finally got around to getting the filming done last night, please enjoy.
Inlay Project part 2 clean up and polish prep work for filming.


have used 2 120grit sanding discs so far to get it down to a nearly flat state as my workbench is not a level as i thought it was. So the E has not filled in as i would like.
I will use a 600, 800 and 1500 grit discs before the video starts as till i get a vice cannot show this on my workbench.


ready for 2500 and some micro-abrasive to take the scratches out and then a final polish after.


will be filming it tomorrow. as have an ill little boy tonight so think its going to be a long night.
More video content incoming with sound and multiple cameras if all works well.
Have had some technical difficulties with cameras and mic but think i have solved some of these issues hopefully by end of tonight i can film part two of the resin infill project so if all works will do this tomorrow.
very happy with the first attempt i have whizzed down the excess resin with my orbital sander and some 120grit sandpaper. Really need a sanding booth dust out brake think next time will do it outside.

Good News seems to all be working now just got to do some re-running of USB cables to get rid of the issues with running more than 2 HD cams on one USB port. Will test out the gaming headset for mic audio.
touch wood will all be good so i can film the final finishing of the coaster.
Laser engraved Costers with Resin infill Part 1

Right, this has been a long time coming but i have finally got around to doing a video its not perfect as i need to 1 work on my video editing skills its a new bit of software i am using. 2 work on my narration skills as i think i can do better. i know i am probably being a little hard on my self but such is me.
Anyhow, I hope you enjoy the video part 2 should be out in the not so near future maybe even later see how time goes as off playing airsoft in the morning so got to charge up my hpa tanks so might not get time to film me sanding down the resin.
Video incoming and new year new projects.

As going live has been not happening due to life and work commitments i will be producing videos of all my projects and putting them on youtube as and when i do them this will be the not so live from the mancave series.
I will be starting the ball rolling with a video about laser engraving bamboo coasters and then infiling them with resin.
Part 1 should be released tonight. as in the cold weather the resin hasn’t set as quickly as it should hoping tonight it’s less sticky so i can fill me sanding and polishing it. then can put together part 2 and get that out as well.
I am back in the cave time for some fun with UV resin.
Well 2 weeks off meant to feel rested but now more tired than ever the joys of life. Never mind time to play with my Christmas gifts as requested crafting supplies.
UV resin and some Epoxy Resin, as i travelled back alone i ventured down to the man cave last night for some testing.
so for my first test, i decided to try UV resin. on a silicon mould and infill on a bamboo coster that i had laser engraved. So i fired up lightburn imported a welsh dragon logo as the brother in law wants a set of costers. i set the parameters to 350mms and 70%-65% power with 6 passes. I will modify this in the future as i want it to engrave deeper in fewer passes. i then pored around 10ml of resin into a cup and added 6 drops of resin colour red to give a nice red resin using the stir stick i coated the engraving. then hardened using UV light. Now i had not removed the masking tape which was a mistake as when i peeled it took all the resin out of the engraving with the tape so started again with no tape didn’t now have enough to fill to level but get the overall effect was still stickie to the touch.

will sand it later and see what happens. then will repeat with Epoxy resin on the opposite side of the coster.

The viscosity of the UV resin is quite thick and does not flow very well was going to use a syringe to apply resin but wouldn’t suck well. see how epoxy does. next up i half-filled a silicon mould with resin applied some dry flowers and then filled the mould with resin i then cured using UV light apparently need 30 mins only did a few mins so will need to try this again as very sticky after cure.

so time permitting will do some experimenting tonight as can see this being cool for some upcoming projects i want to do.


You must be logged in to post a comment.