The problem

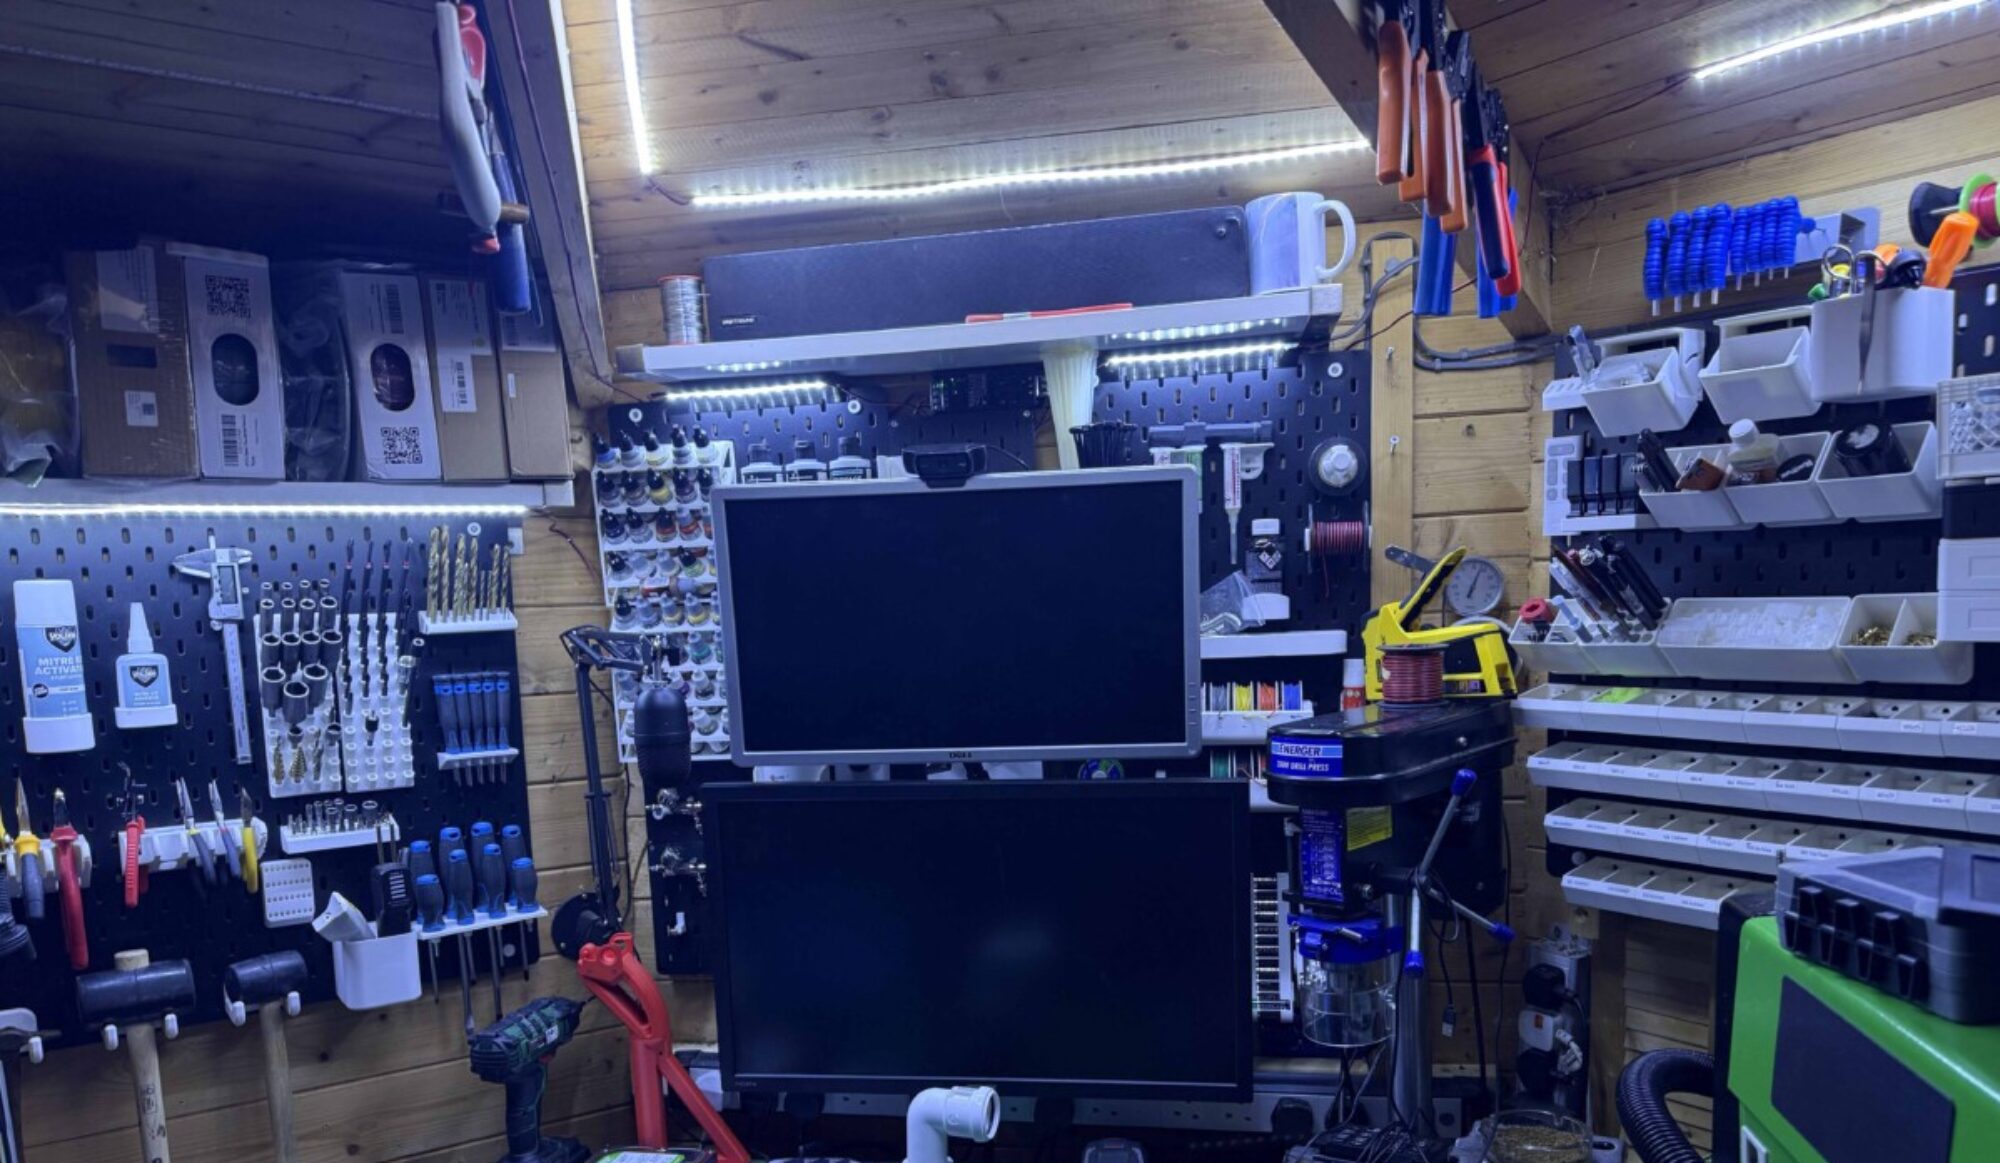
been buying quick release bits from wish and other suppliers just storing them in bags is not cutting it any more to time a made a storage tray for them all. was doing a tidy up in the cave last night came across more bits. put them in a draw. was lying in bed about to sleep when I had this design in my head last night waited till morning to put it into a design. the joys of dyslexia.
I had made a shelf for my retro pi NES box last night teaching my self new skills with tabs so i thought of what i had done and thought how to incorporate it with the design i was thinking of to make it a wall-mounted shelf.

Back showing tabs. 
Quick and dirty retro pi shelf 
Done works well
So the principle for this is that all screwdriver hex bits are 1/4″ or for us, brits 6.35mm hex so on that principle i am going to do a test cut to make sure if i use the laser to cut that size it will fit if not will adjust its size.
first up lets design the tray going to be made up of 3 layers.
The first layer will be the baseboard and slider, Slider I hear you say what that for, all will be explained in the design. layer 2 and 3 will hold the bits.
Time to fire up my trusty Lightburn software to design and then cut it using a laser cutter.
Have made H counter leaver design for the wall if this does not hold the weight might go from tabs to another idea but cross that bridge when we come to it.

I will release the design once i have perfected it as with any project it might or might not be 100 per cent right the first time but let’s give it a go.
Time to test the hex size and then cut the full pattern, the joys of using light burn select the test part and then turn on cut selected graphics will only cut the one hexagon so i can make sure it fits.

Tested and yes i was right it was a little off and my thoughts of it being wrong were right so a little tweek. So now to test cut the design and make sure it all fits together before i glue it.
Wait I just thought of something to make it better!
Ok, i have decided to make 1 design change before the first cut to make the shelf more stable by adding second stabilization bar to stop any movement when taking the shelf in and out. the joys of having a dyslexic mind can figure out issues without even putting thigs down on paper.


So to assemble going to use 4 m3 screws and nuts to hold the 3 layers together will then mount to the wall using 2 X 4mm self tappers. going to glue using quick contact spray and glue.


All glued let’s mount it and test it.

I am going to revamp the design slightly as a little too much play in the hexagons. and 2 back screws are binding so removed works fine so might just change base plate slightly to get it to work as well.
So back to the power of lightburn. Changed the dimensions by .300 in x and y to get a tighter fit. will test it tonight. I removed 2 back screws to stop it hitting the cross braces. I then took a few mm out of the back to stop it binding. will do cut of modified bits tonight and post findings later.

Will update this later once i have had time to cut modified bits. will then post the design.
did some more finessing of the design to make it much more usable have adjusted holes to make a tight fit and removed all bolts apart from m3 which are used for aligning the 2 hex panels during alignment and then glued boards in place.


Lightburn File download. please find a link to the file i have added information to the file that should be removed LINK

please enjoy and don’t sell my work.


You must be logged in to post a comment.