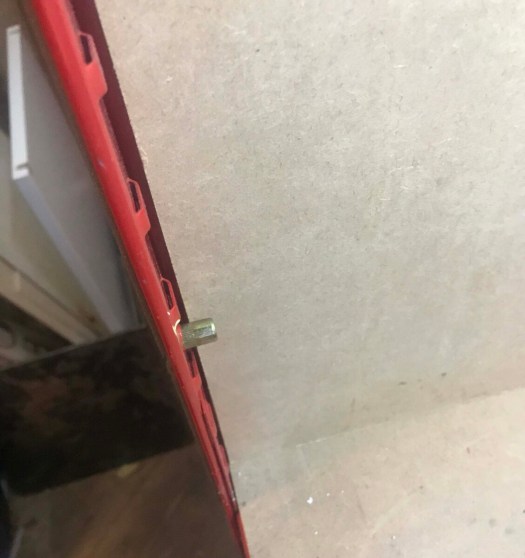
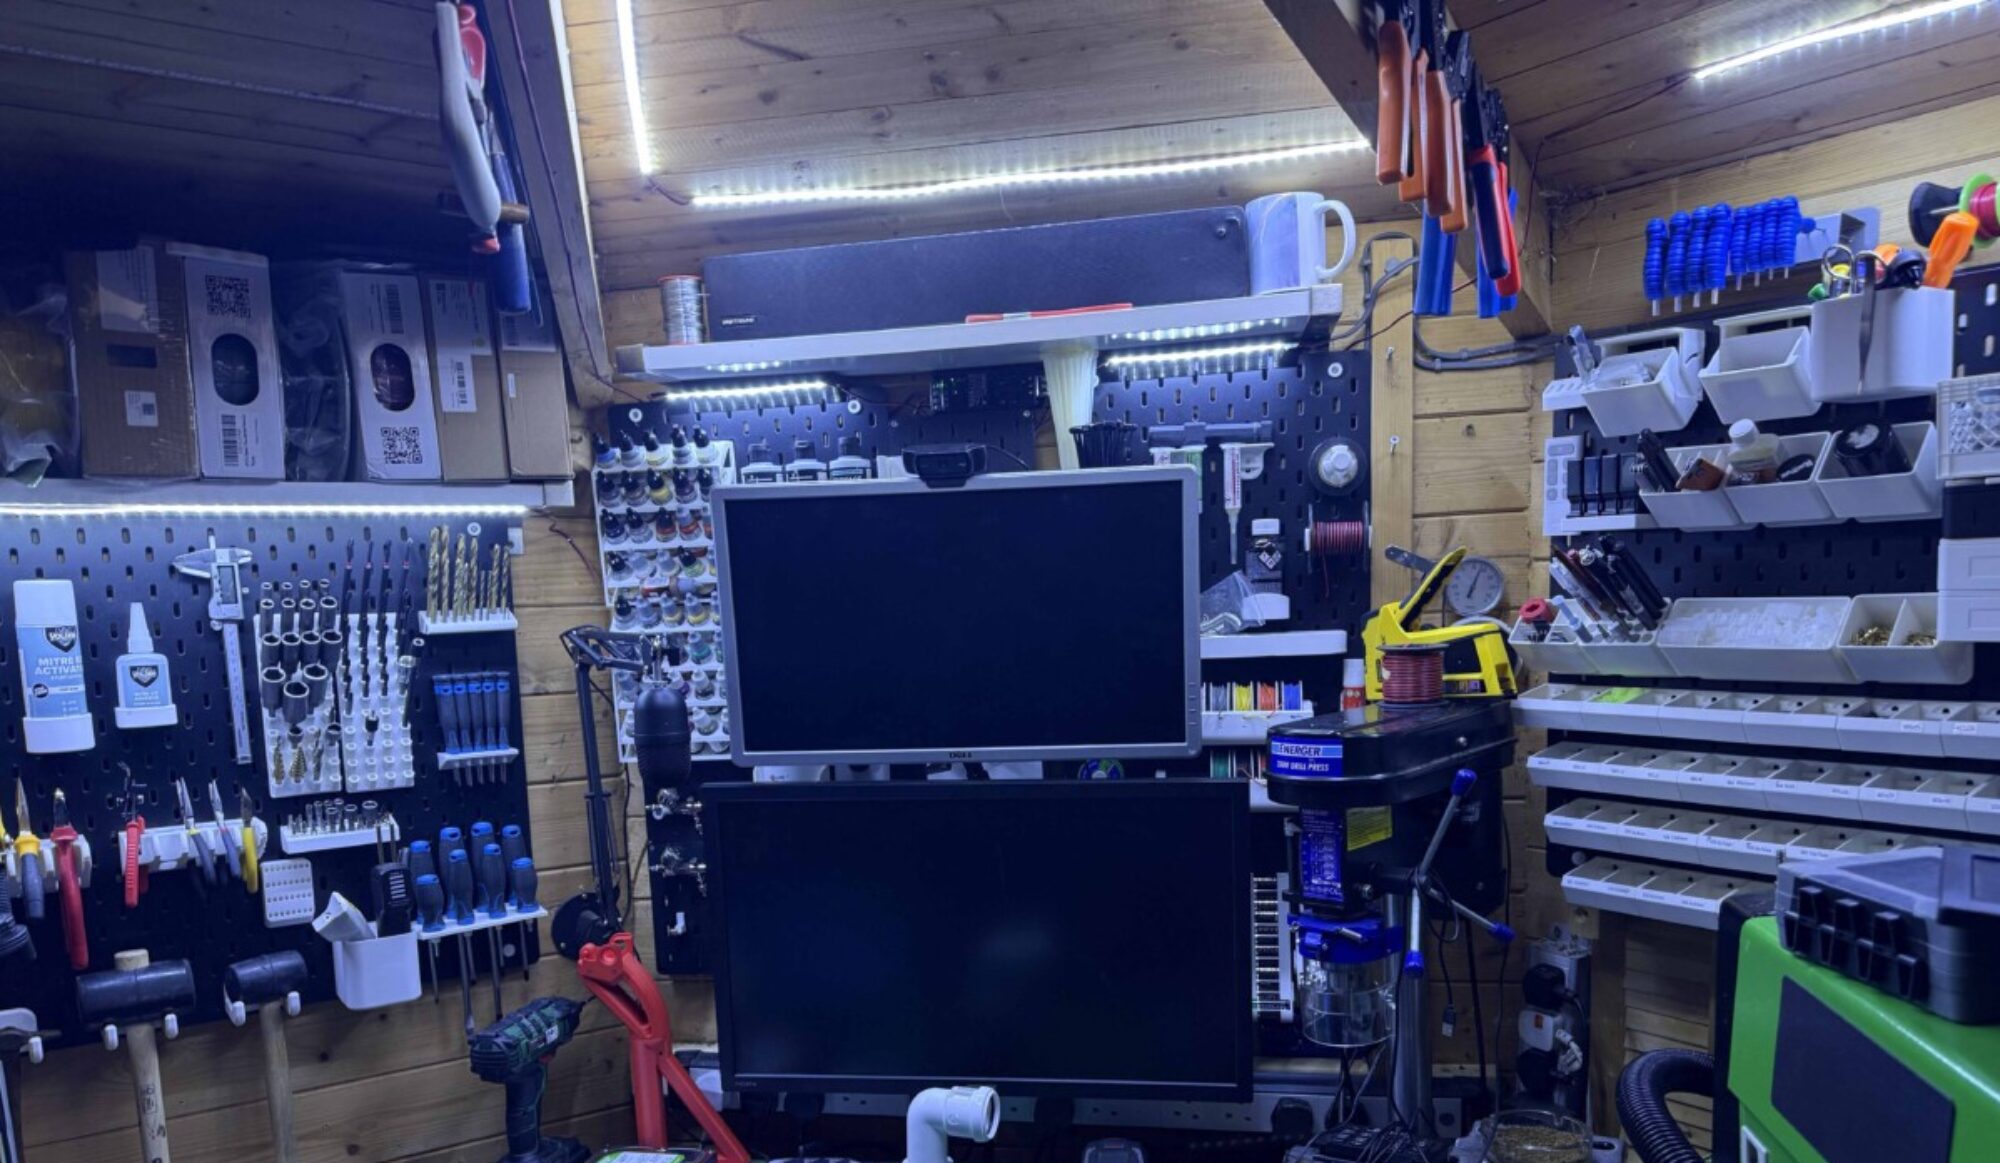
Started stripping out the old hardware going to use a perspex window mounded to the unit with some flat head threaded rivets. Screw knobs 6 on the big window. then going to buy a A3 sheet if perspex and drill the 2 corners and cut a window out of the tool end with the same side panel but hinged on the top end. with to thumb knobs.
going to find some brackets to print to make the enclosure more scure.
will make sense when you see it.
Still not sure if i need a better dust collector going to get a mask as mdf is nasty stuff.
Going to re-run line vacuum line as it pulling the board also going to look at 65 mm dust shoe. to print.
But will work on that going to mount a camera on the outside of the enclosure looking in as the go pro went flat on me last night. then should be able to get good footage.
will start the documenting of it all tomorrow.
Starting to look at doing some fun stuff think i will get some hard woods to play with.
started looking at some dust shoes last night found one i realy liked the look of but its missing the brush part of the shoe. lots of people asking designer for it. no responce unlike most people who would just find another one. i desided to remix it with the brush attachment.
So pulled stl in to fusion 360 i then used it to reffrence shape and made the rest as i whent looks nice now to test it so first job of the day when i get to the man cave is to load the printer with some Petg and print this out.
this is the original design https://www.thingiverse.com/thing:2915093

the part i designed is in grey on the image below.


I also made a inlay for brush strip to be inserted.

Just waiting on the wife to wake up from her sat morning lie in and will put some petg on the printer and start the print looks nice and compact so hoping will be more effective than the last shoe. as was a little bulky also means i can leave brush off and show you the cutting in action. as just held on with magnets. more later.

First part printed will test fit it in a short while need to still dial in the other printer would be doing this with both running.
fits like a glove will now print the cavity part back in 4 hrs if i am still up and then will do the final part the bit i made and hopefully it all fits together. by tommorow will have a working dust shoe so far its nice and compact need to find some brush for it as mine is too big.
after diner will mark drill and make large observation window and make a mock-up for tool change window. then going to fire up my birthday present from wife a mini router and cut the window out that will probably be tomorrow if time allows. will then order some 4 mm A3 perspex and do i attempt to print my own hinges, hmm maybe i will to save some money.
also going to look for a enclosure camera mount or something that will suite my application.
So a bit of graft with some research more later
Ok! I sat down mistake I know just printing tonight will get this one off the bed then i will get the next one printing so by morning i should have a working prototype now to look for brush for the shoe.

Right 10 min cool down and will go remove it from the bed and start on the last part hopefully will all fit together.
away we go night all back tomorrow for more fun.

Morning all well afternoon had a lie in this morning was a late one. but parts are finished off. Will go down and see it fits before i apply the magnets as i have limited supply.

Just need to do a test fit. and find some brush. in fact that what i am going to do now.
It fits like a glove going to make a custom brush for it shortly might cut a broom down and hot glue gun the bristles in place.

Perfect fit now to add metal and magnets 
underside
will post remix shortly on Thingiverse and make public will post more images shortly once done hoping to do more on the enclosure later.
to make the above you will the following parts off Thingiverse.
https://www.thingiverse.com/thing:4460116
https://www.thingiverse.com/thing:2915093
Right Fitted the hardware and magnets have fitted it to spindle works well and is nice and compact has great suction too. just need to make the brush up next. not sure the best way to do this might buy a roll of PVC door blind material 2mm. and cut it down then make slits all around for brush part. limits are spot on got to love fusion 360 love my hobby licences free to makers and such a powerful tool i still need to do a course on it and learn its full potential.


Have started to drill holes for rivets i will then drill 2 fixing holes and mount perspex on to thumbscrews will drill these holes slightly bigger as gives me movement after i have drilled it then will drill a further 4 holes to racking so six screws in total. Drill batteries went flat waiting for a charge. before i mark and drill other holes.

Think i will then move the suction hole to the top of enclosure might cut vacuum hose using 40 mm pipework to run a cleaner line to vacuum. going to do a test cut and see how it performs now with the different shoe.
Going to do that tomorrow as getting late again. will take a couple more shots later when i go take the battery off charge.
2 rivets in the hole just need to squish them need to change the head from 3 mm to 6 mm might actually do all the 3 mm holes first so i can then just concentrate on the 6 mm.

time to sleep back tommoorow.
Right been working on a day job in the man cave but have had time to drill and rivet all the side access holes.
I am going to get some cheap opaque 4 mm perspex from the local DIY store. and some insulation foam tape to stop dust coming out.
But that will be tomorrow as will be going out to the office. so will stop on my way back.
found a sacrificial broom to cut the bristles out of and glue into the shoe well that’s if i can get it to fit. The plan is to cut each bristle in 2 and put masking tape around the middle to holder them together till glued.
Will post images later. Going to run test cut tonight need to do some side projects for a friends gift but won’t cover that just in case he sees it.
Test run worked well wow the cave heats up and the vacuum is very noisy might have to see how to get a quieter vaccum.

It turned out well going to need to do some minor sanding then to paint it.

Just need to run the cut out pass but will that tomorrow happy with my progress going to get some different woods to play and some aluminum.

Managed to install new MPG had some issue installing as it was not quite registering as in showed up on the PC but wouldn’t move. was about to send a shitty email to the ebay seller but. held off i consolted google and came up a blank i then remember last one dident like usb 3.0 plugs so I tried that. it then worked i will now to set up the macros as then can press button to do actions.
Did find a video on adding custom macros as want as the system uses it uses its own z prob script. the video showed how to get the mpg to work with 3rd party macros. to add z probe function and a few others. so i will start making a list of macros to add to the mpg. that might be a job of the day as the weather is not on my side today.
Will be going to the local hardware store later for some perspex and wood later. i managed to mark out the base board for its window cut out if the rain lets up later will cut it out when my son has is nap. as then can start putting things together. ready for perspex sheeting later.

right i will update more later if i can get it cut out today. the sun came out and the son finally slept window is now cut now to wake the boy.

Tonight will screw it all together and make it as dust proof as possible. more later on this.
back from DIY store, i couldn’t get any perspex so got a sheet of 6 mm MDF will make it out of that for time being COVID-19 limited supply’s.
have marked it up ready to cut sheet down and add holes and rivets then will use foam backed tape to act as a gasket, will then use 3 x M6 screw knobs to hold sheet in place.
Cut the sheet down using my bosh multi tool cut though the MDF like butter. The MDF is temporary till i can get perspex. The joys of covid-19. i then drilled the fixing holes for the panel i then held up the MDF in position. I marked thorough the drill hole on the mdf. i then drilled the marked hole. I then fitted first flat rivet in the hole and fixed it in place with the rivet gun. then placed the MDF back ant attached it using the plastic M6 knob. I then marked up the renaming 2 holes. I then drilled them both and applied rivets to both holes.

I then attached 6 mm insulation tape all around the window to stop dust escaping

I have also attached cabinet edge blocks through the enclosure to seal it up. need to get some more duct tape to seal to the racking.

will take some pictures shortly but happy with it so far just need to play some more the system i think I might get a 1m hover extension pipe so it can be plugged in and out.
will measure that tomorrow and have a look at options.
have reprogrammed the mpg script so my z zeroing prob will now work on the mpg just need to figure out what custom macros i am going to install to it.

with to door off it gives great access to the front with 3 turn screws about 3 turns to release front and six to do the sides.

I have a few bits to add to this project but they can be done as when i will update and post.


You must be logged in to post a comment.