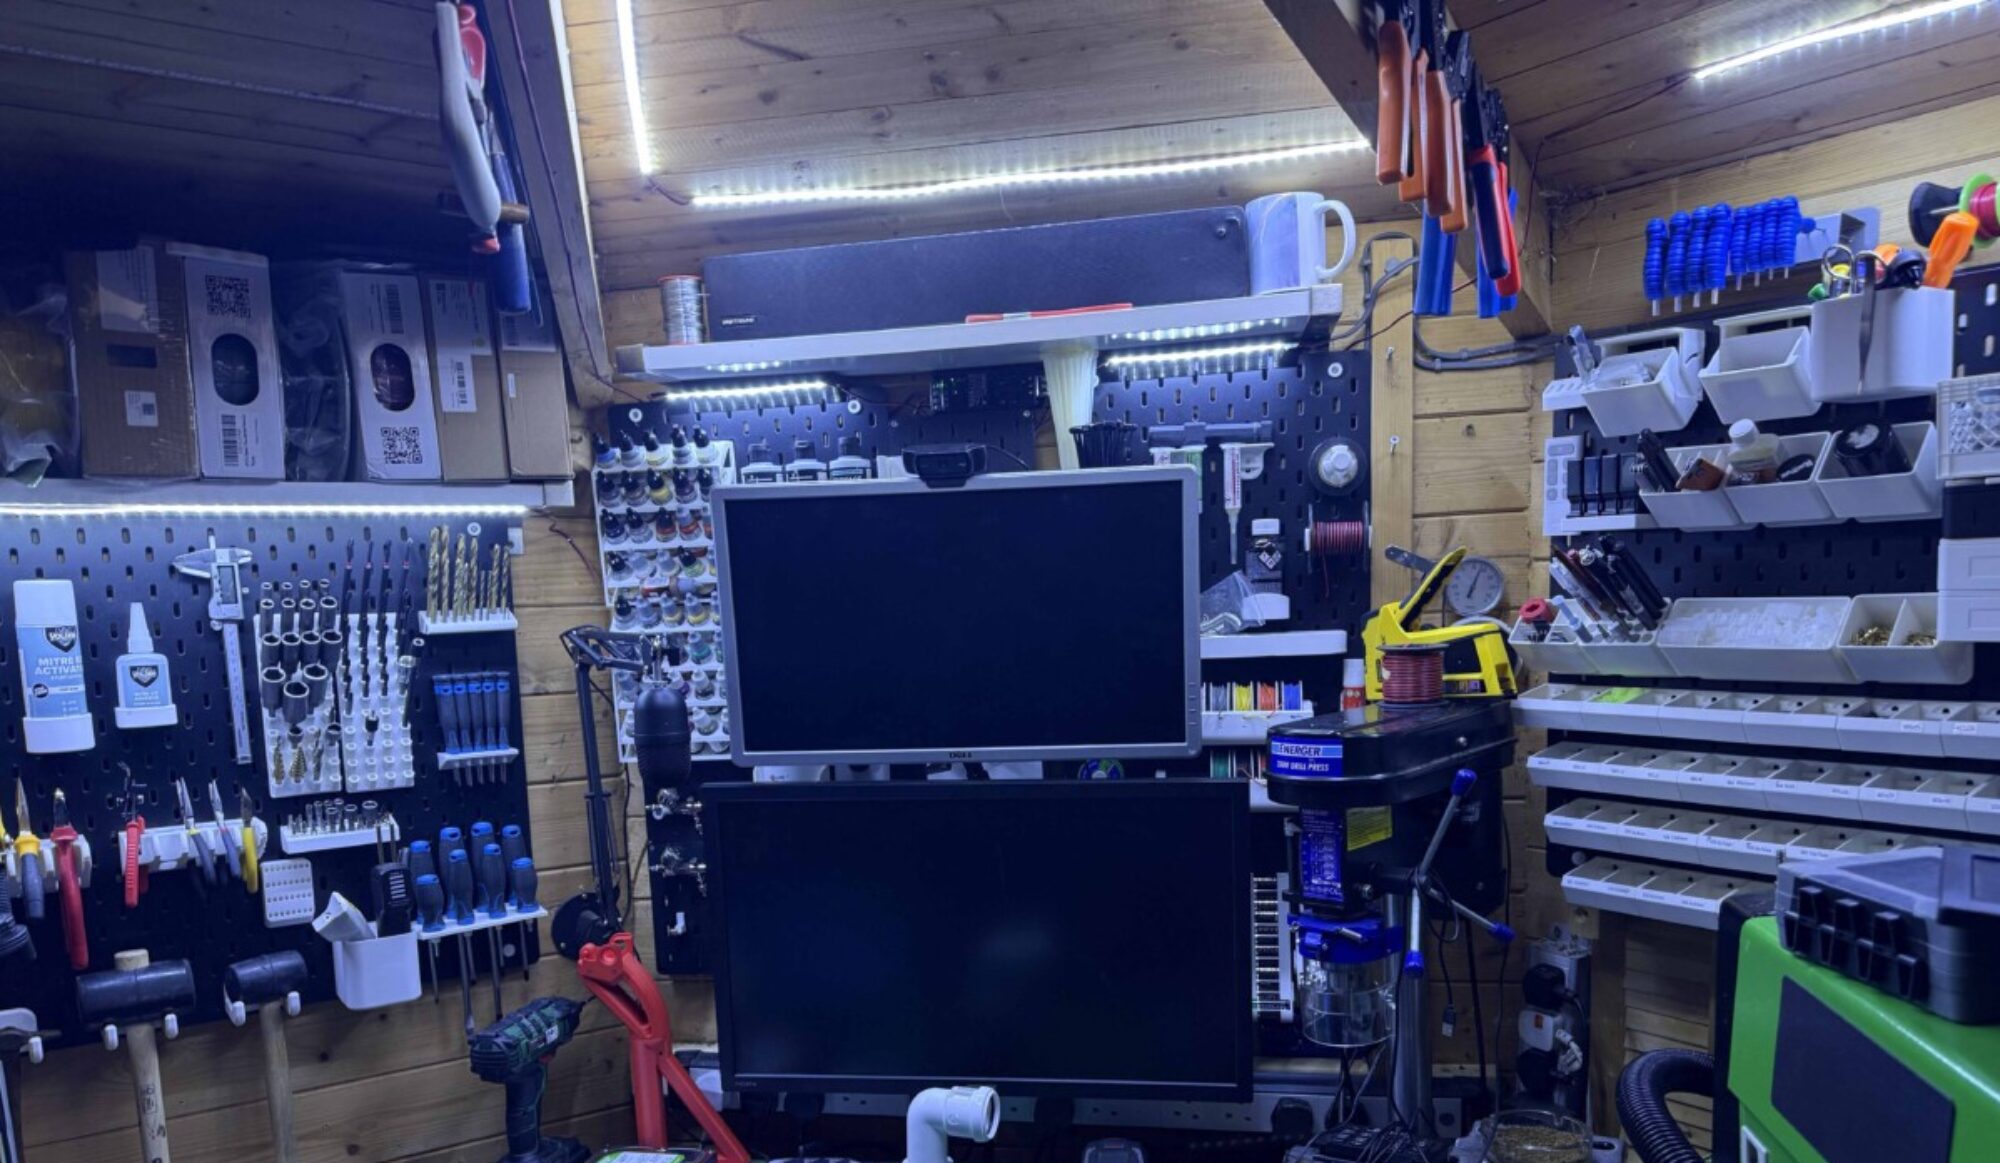
Was a productive night in the cave bit of modding and crafting.

After looking on the Elegoo mars forums i saw someone had reworked the firmware to allow network support so i had to do it.

https://www.elegoomars.com/forum/showthread.php?tid=15

you will need to register to download the firmware modification then unpack it for installing it to the machine the script comes with great instructions. the

I then found a great design on Thingiverse that allowed for a keystone network adaper to be installed to a cat5 cable. so i jumped on amazon order some keystone plugs and now to convert the firmware and add the hardware.

Last night i printed and cured the new black plate on the printer.

So modifying my new printer begins
1hr later time to cure the back plate.
Ready to install later.

Thanks, amazon.co.uk prime as next day delivery for my keystone plugs and tools to do this had a load of patch cables left in the office so going to sacrifice one of them as my plugin and play solution. all my bits are paid for not sponsored just like the service.

goodies for the mod.

time to make a short network cable to keystone connector. armed with my cable stripper and punch tool time to cut down the cable and make it panel mounted.

All done and tested.

unfortunately, i managed to install plug backwards and broke the print on removal. so will be a tomorrow job as currently printing a USB mod for moving the key from back to front.

USB extension cable ready for next mod.

Updated from yesterday 02/10/19:

The right printed the rear plate again, guess what i managed to break it again so i think will print it in pla once i have my Prusa back up and running right.

I am hoping to get an upgrade on Monday and be back in business as driving me nuts not being able to use it. will also revisit the MMU of my mk2s as could be good fun.

I have ordered some black resin and will reprint the bottom part of the USB holder in black but works well. some pictures of it in green.

going to reprint in black as all green is too much.
base to ve redone in black and keep top green. for the time being.

The first project on the SLA printer

Yes, at last, i get to take the Elegoo Mars printer out for a test drive.

So i have already tried this mount on my standard Prusa FDM printer on quick and dirty settings and it printed but had some issues with the camera holder, it fitted but need a lot of sanding to get it to work right. so as i now have a super fine detail printer. why not make it out of resin.

In the end, went for the yet another camera mount which i cut from acrylic and blogged about on here its good but the head hits at the bottom of the bed if door is shut on the cutting bed so have been thinking about ether modifying mount or designing another one.

I was chatting with a fellow laser cutting community group user who was asking for my advice and was going to buy this mount off an Etsy shop. This got me thinking what if i printed this in resin would be nice and smooth and easy to put together.

Model is available off Thingiverse link here.

Fired up Chitbox and dropped in the components for the mount had to rotate some bits and then ready to slice with standard 0.05mm layer hight profile standards

this is my first attempt ad printing in sla other than the test samples in the previous review

Now not sure how well it will run as haven’t added rafts or supports but why not just go for it going to cost me the minimal amount in resin. hoping this comes out well.

wish me luck will be back in the cave in a 2hrs to see how it does.

The machine is all ready to go all i have to do is select mode off the U-disk and 2hrs later should have bits ready to clean and cure.

Total fail 1:

Print stuck to the build plate but had layer shift and the part was flatter than it should have been.

wish me luck lol

Fail Number 2:

Printed raft and supports then failed again this time leaving a residue on the print surface this required a big clean up to remove have also marked the print surface.

What Next:

As i am about to get on a jet plane for a week away will do some reading on supports and print methods to see what i can do. as i am sure it’s more my error than the printer.

will update this post on my return as will be a little bit less stressed than when i was doing this first run project as had a large amount of bit to make for my day job so it’s on a shelf till i get back then will make a proper space for it to live.