Getting Started with Lighting
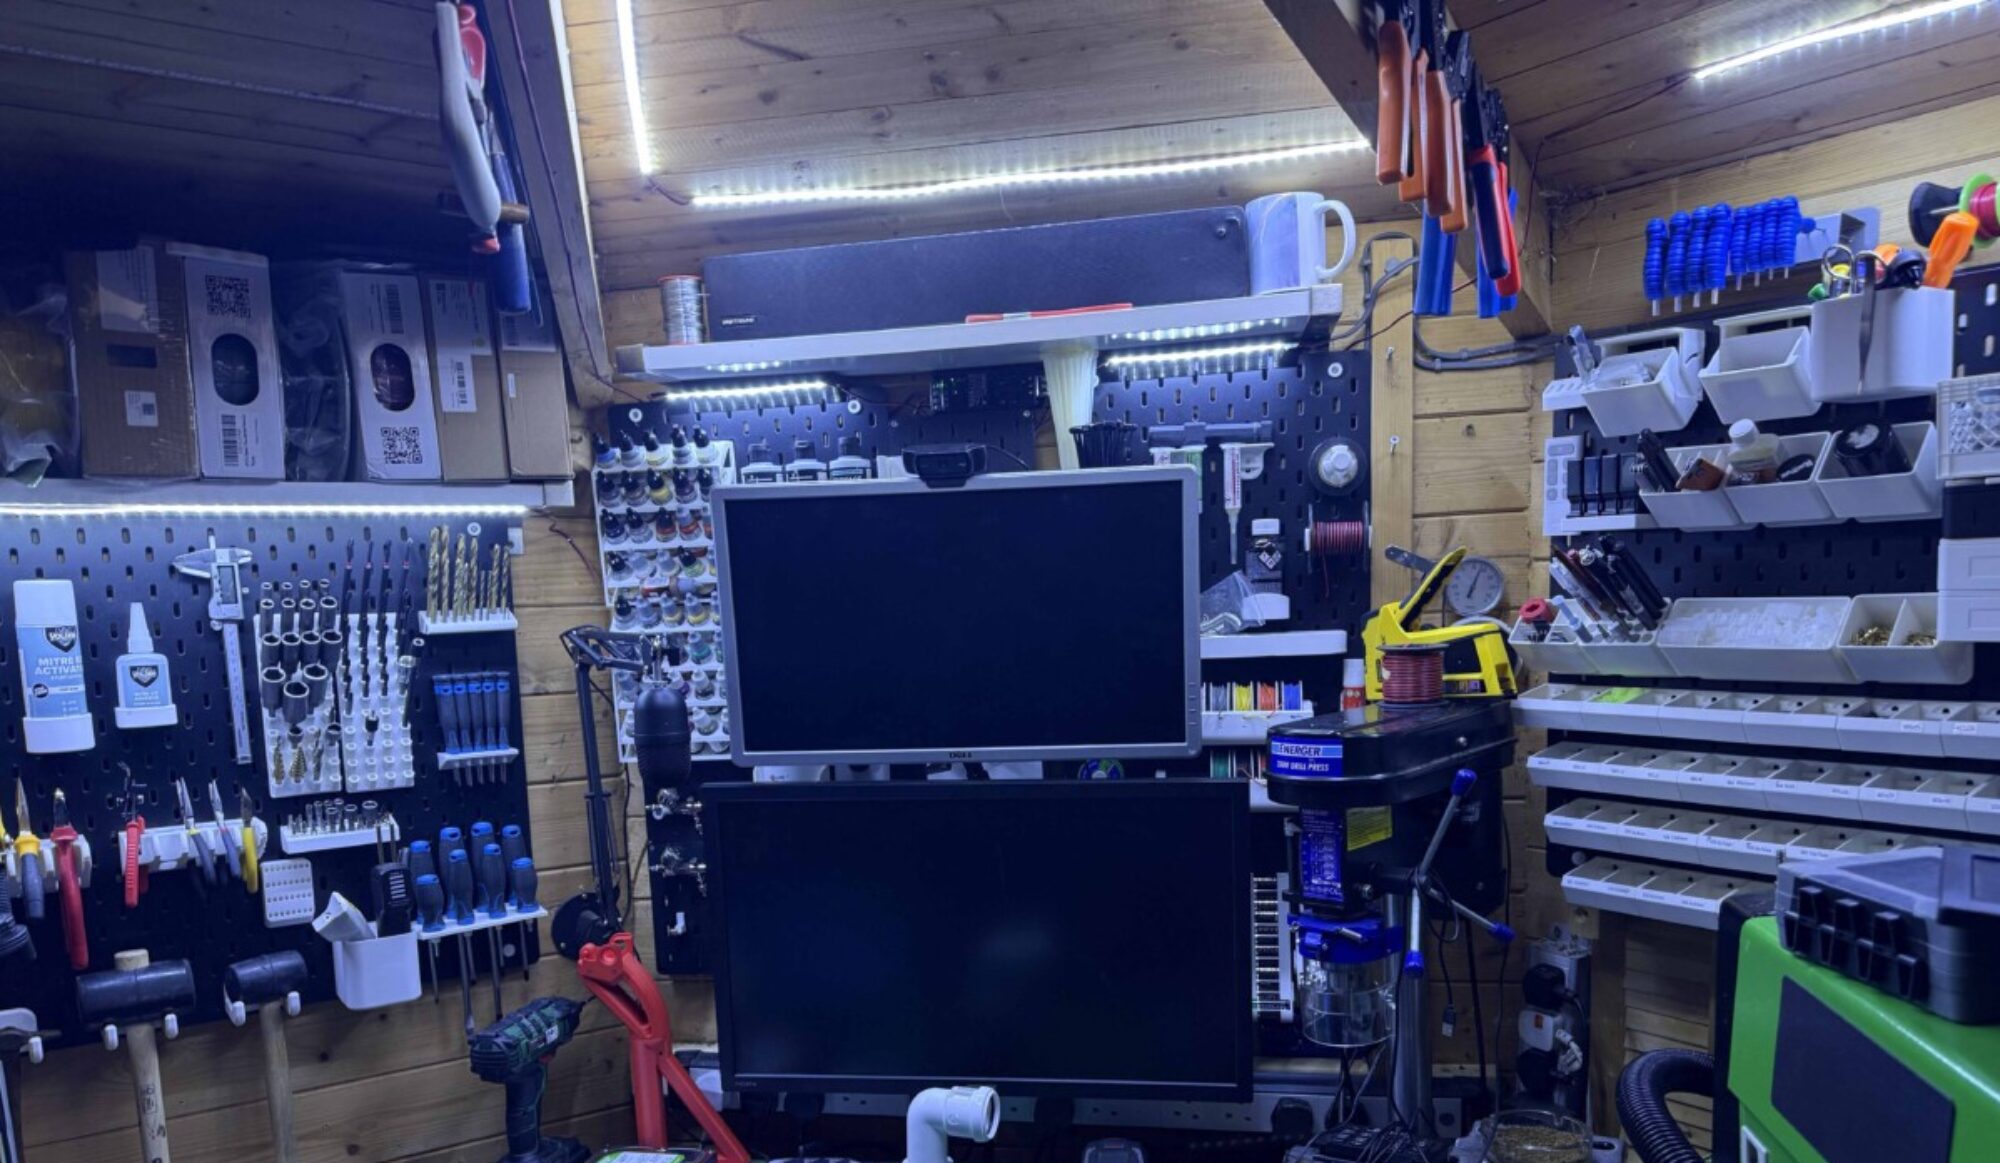
It’s time to finish off the lighting segments in my cave! If you noticed the updated cover shot, you might have seen how this journey is taking a bit longer than I initially thought. But fear not; we will get there!

Fitting the New Hub with Lights
Next on my list is fitting some more lights to the newly constructed hub. Each segment will consist of two 750mm lengths and one 600mm length, all soldered together with 40mm of wire in between. Then, I’ll attach a 300mm length with a female connector to the hub. This will all be wired to a 100w LED driver that connects to the mains power and is rigged to the light switch. Exciting, isn’t it?
Tackling Adhesives and Installation
I’ve encountered some issues with the adhesive on the LED tape, which prompted me to invest in some 6mm M3 tape to secure it firmly to the roof. Now that I’ve cut my second set into lengths, it’s time to remove the protective silicone on the tape and solder the lead from the tape to the connector. Remember to attach the horizontal section to the two vertical sections too! Finally, I’ll strip the old tape off and add some sturdy 3M tape to hold everything solidly in place while also removing the outdated tape that has served me well for the last three years.

2 done 6 to go the things i do for fun
hot box in the cave the heat has hit its a barmy 35c in the work shop so this might take me a day or 2 will update this post once there all done.

Next project
will be running dual cat6 cables from the house to to man cave giving me a more stable connection to connecting to my equipment and the speed that i need to be able to stream some videos.


You must be logged in to post a comment.