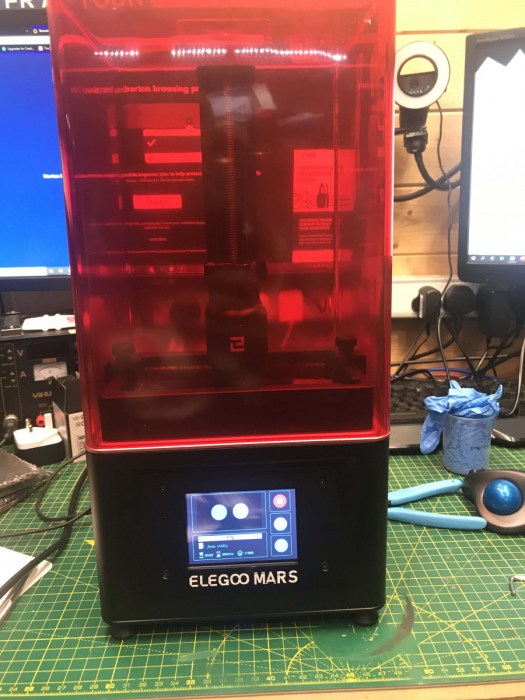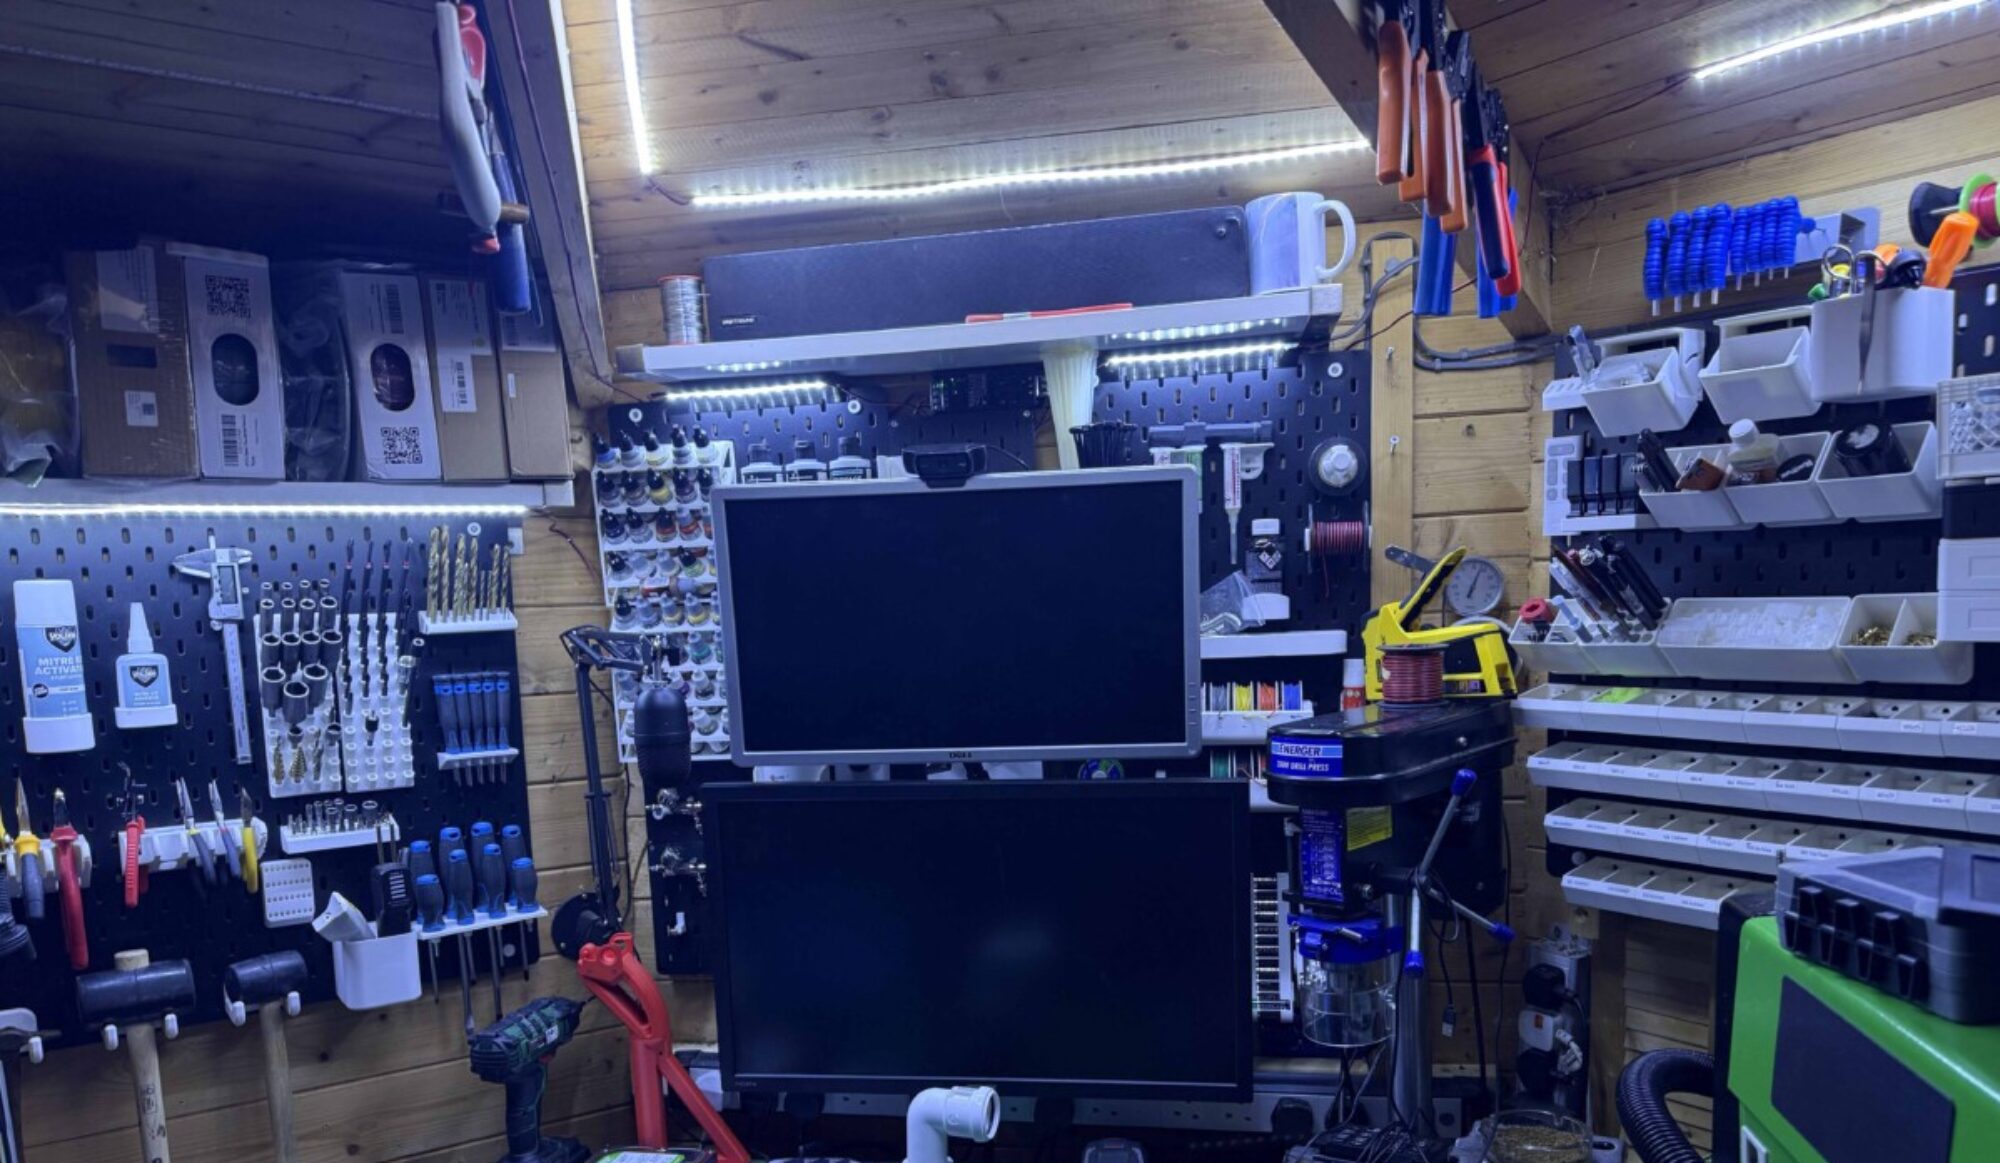
I have been after one of these bad boys for an over a month but they are hard to find in stock as in short supply in the UK as so popular as the 3d gods have been reviewing them. elegoo support on amazon tipped me off of stock returning and i managed to snag the last one on amazon. time to review it.
What’s In the box?

Very impressive packaging from such a cheap machine after removing the foam you are greeted a with a box labelled tools and the printer.


after removing another layer of foam you will find the print plate lose encased in foam. i finished unpacking the tools and printer. You are greeted with a nice easy to use manual. so what’s in the box?
- Hex driver not sure what this i used for probably changing the vat screen
- Printing plate.
- Snips for cutting supports off.
- 2 x Hex Keys 1 for locking the print head in place the other must be for maintenance.
- Measuring jug for filtering the leftover resin into before pouring back into a bottle,
- 5 Face masks not sure the need for these as resin does not pong.
- Paint filters for straining used resin through so you can return it to the bottle.
- Some spare nuts and screws just in case you lose any.
- Nitrile gloves couple of pairs will need more
- 3d printed 45-degree drip tool.
- Plastic scraper for removing prints.
- Powerpack with local plug in my case UK.
- Instructions
- USB Key with rook test print instructions and slicing software

What’s not included.
Now you will need to buy resin separately i have gone for the Elegoo standard resin 500g transparent green for £20 off amazon. going to order some other colours soon.
You are also going to need some bits to clean and cure the print afterwards. After watching some videos i brought a pickle jar airtight this comes with a drip tray some 91+ % isopropanol alcohol to clean the print, some UV light to cure the print this can be sunlight.
I have ordered a UV light and turntable that i will make a curing chamber in the future will be an upcoming project.
The Setup.
This is probably the quickest setup i have ever done on a 3d printer.
- plug in the printer and turn it on makes a beep and its ready select settings and manual raise the z-axis by about 100mm 10 presses on up button.
- Get build plate loosen 2 grub screws and attach the build plate to the z-axis
- Press the plate levelling button the plate will home and move up and down a few time then tighten the grub screws. plate is now levelled.
- move build plate 100mm up the z-axis.
- Check the uv screen is working this step i skipped as it was late.
- fill resin vat to 1/3 full insert the USB key and press the printer button to navigate to rook print and press play.
- Cover the machine, with UV cover i sat and waited till i heard the pop sound this was first layer being taken up by the build plate.
- Come back 4hr 30mins later and print will be done i came back next morning.


The Morning after

Curing the print.
now this is the dangerous bit and requires cloves do not handle resin without gloving up as this stuff is toxic. i also put safety glasses on as just don’t want to risk it.

using the supplied 3d printed bracket I placed the build plate on it to allow any access resin to drip off the plate.
after 10 mins i came back using the scrapper i gently took the prints off the build ad plate put them into my pickle container filled halfway with isopropanol alcohol shook the sealed jar to remove any access resin.

i then put the prints outside for 30mins to cure.

The result.


Wow I am impressed with this printer yes it’s a bit messier than an FDM but the quality of the print is amazing going to start my first project to see how it handles a model off Thingiverse.
Summery.
I would recommend this printer for small quality prints it’s quite easy to use so far will review the slicing software shortly. as its resin would watch a load of videos first as safety is key.
Pros
- High-quality prints.
- Easy to set up and use.
- Not too smelly.
- Compact unit.
- Offline printing.
- Well packed.
- Price.
Cons
- Risk of harm from resin.
- The power switch is on the back
- the USB slot is on the back
- Getting material off the build plate is a little hard
All in all happy with my purchase can see it being a good fit in the cave. would recommend it to everyone just finding them has proven to be a challenge as in sort supply at the sale price as people are buying them and marketing up to £400+ on ebay.
A for future mods to the machine, I have a USB extension lead will try seeing if it will take it as will then mount the USB at the front and have a led extension with an on/off switch will see if i can then add the on/off to the front of the machine. so minimal mod to make it great will cove this later. will post the first project later once it done.

