As I have re layed out the workshop over the last few weeks. I have started to get all the equipment up and running. so when the time finally comes for some live streams I can just walk in the press a button on my stream deck and boom we are live on youtube or twitch haven’t decided yet.
CR-10 Rebuild and calibration
I started with My CR-10 3D printer that has been offline for over a year. keep on making excuses why I haven’t fixed it to my self after destroying old hot end. I had installed a new OEM one and added different bracket EZABL braket after destroying my fangs just never got around to flashing and recalibrating now its easy access I had no more excuses.
have re-flashed the new firmware calibrated the TH3D EZABL sensor will be running a test print. as I realised my raspberry pi octoprint setup had no files sliced fro the cr-10 with the EZABL probe installed. so going use one of the bed levelling STL’s and Simplify3D to give it a test later.
OK did not go as well as expected not sure if i need to rebuild my octoprint install. as got to heat then stopped will look at error logs tonight as was getting late my little one had a temp of 39.7 was asking for dada and mama so had to cut my time on this short. will install a micro sd card and see if I can print that way. then can rule out it being a printer issue. see what the issue is.
it will then be ready for some long big prints as this is my 300 x 300 x 400 machine.
I have ordered some more bits for it as going to upgrade the heater in the bed with silicon bed heater. I will also be installing a magnetic bed as love the one on my Original Prusa i3 MK3. I may do a different Style hot end in the future but for the time being, will keep it stock.
Update some of the parts from supplier should be delivered for the bed upgrade today. but still will be waiting on the heater and the magnetic bed.
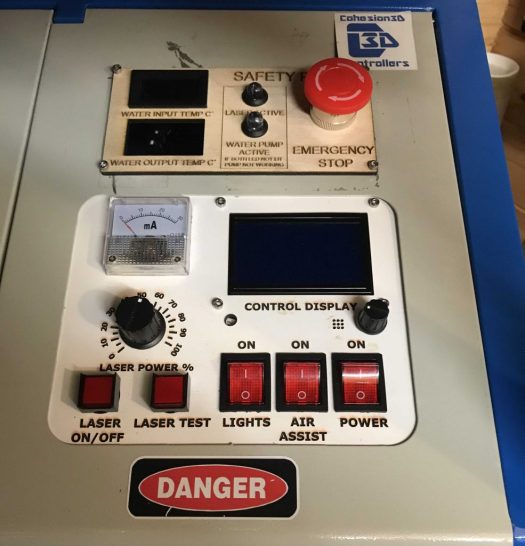
3040T Chinese CNC machine.
This has been a bit of a paperweight since I brought it last year. have had some issue with the software supplied I think I have overcome that. as the information on the internet sucks and the Chinglish instructions are not great.
hours of research and looking all over the internet. I have figured out the following as my card is a USB card cannot probe for pins like on the printer port versions of the card. I can, however, get the pins to recognise in the RNRMotion Plugin but not the software this as I realised that the ground pin I was using was different to the one needed by the mach3 card. so now showing connections for z probe and e-stop in the plugin. then reading over the Chinese pdf file supplied with the equipment I went over the setup steps I got to limit switches witch my machine does not have but noticed that numbers were different so port 3 is the port that is common thought out all input or output pins as my e-stop is on Input pin 1 I set it to port 3 pin 1 on the config for inputs outputs. then my e-stop switch started working so then I wired up z probe. port 3 pin 4
I then installed z probe script and fitted the probe to the machine – on tool and puck on the material. I pressed the button and it bloody worked. now that I have that working I am going disable the limit switches that are not there and use soft limits in Mach 3. might install limit switches as a project at some point as there are few good designs for my style of machine most of them are for air-cooled spindle types.
Now to make a quick G-code script to test it out will do this tonight if i get some time as my boy is not himself waiting for the call from nursery to come to get him.
if that goes well I will be adding a camera and some lights so can film it in stream assets for filming.
What else is going on this week in the man cave?
As long as that all above goes well I have some small commissions to run some dog tags for a band that got to be done this week.
After that will concentrate on the other bits I need to sort in the cave as want clear floor space and to add some on-off switches for the water pump for and vacuum for the CNC machine. adding lighting for my vinal cutter figure out how to add a camera to that as well.
need to find a place to put the original Prusa i3 mk2s MMU till I have time to make it work again with Haribo mod think i am going to flat pack it. also going out to play some airsoft first time in 2 years at the end of the month so need to dig my gear out and test it all won’t cover that and bore you all.
thanks to all that do read my ramblings hoping to go live soon.
I wouldn’t expect it to be as epic as some of you tube great bloggers out there. but will be a start hoping to chat online with you all soon and have fun doing some cool projects.
Like this:
Like Loading...


You must be logged in to post a comment.