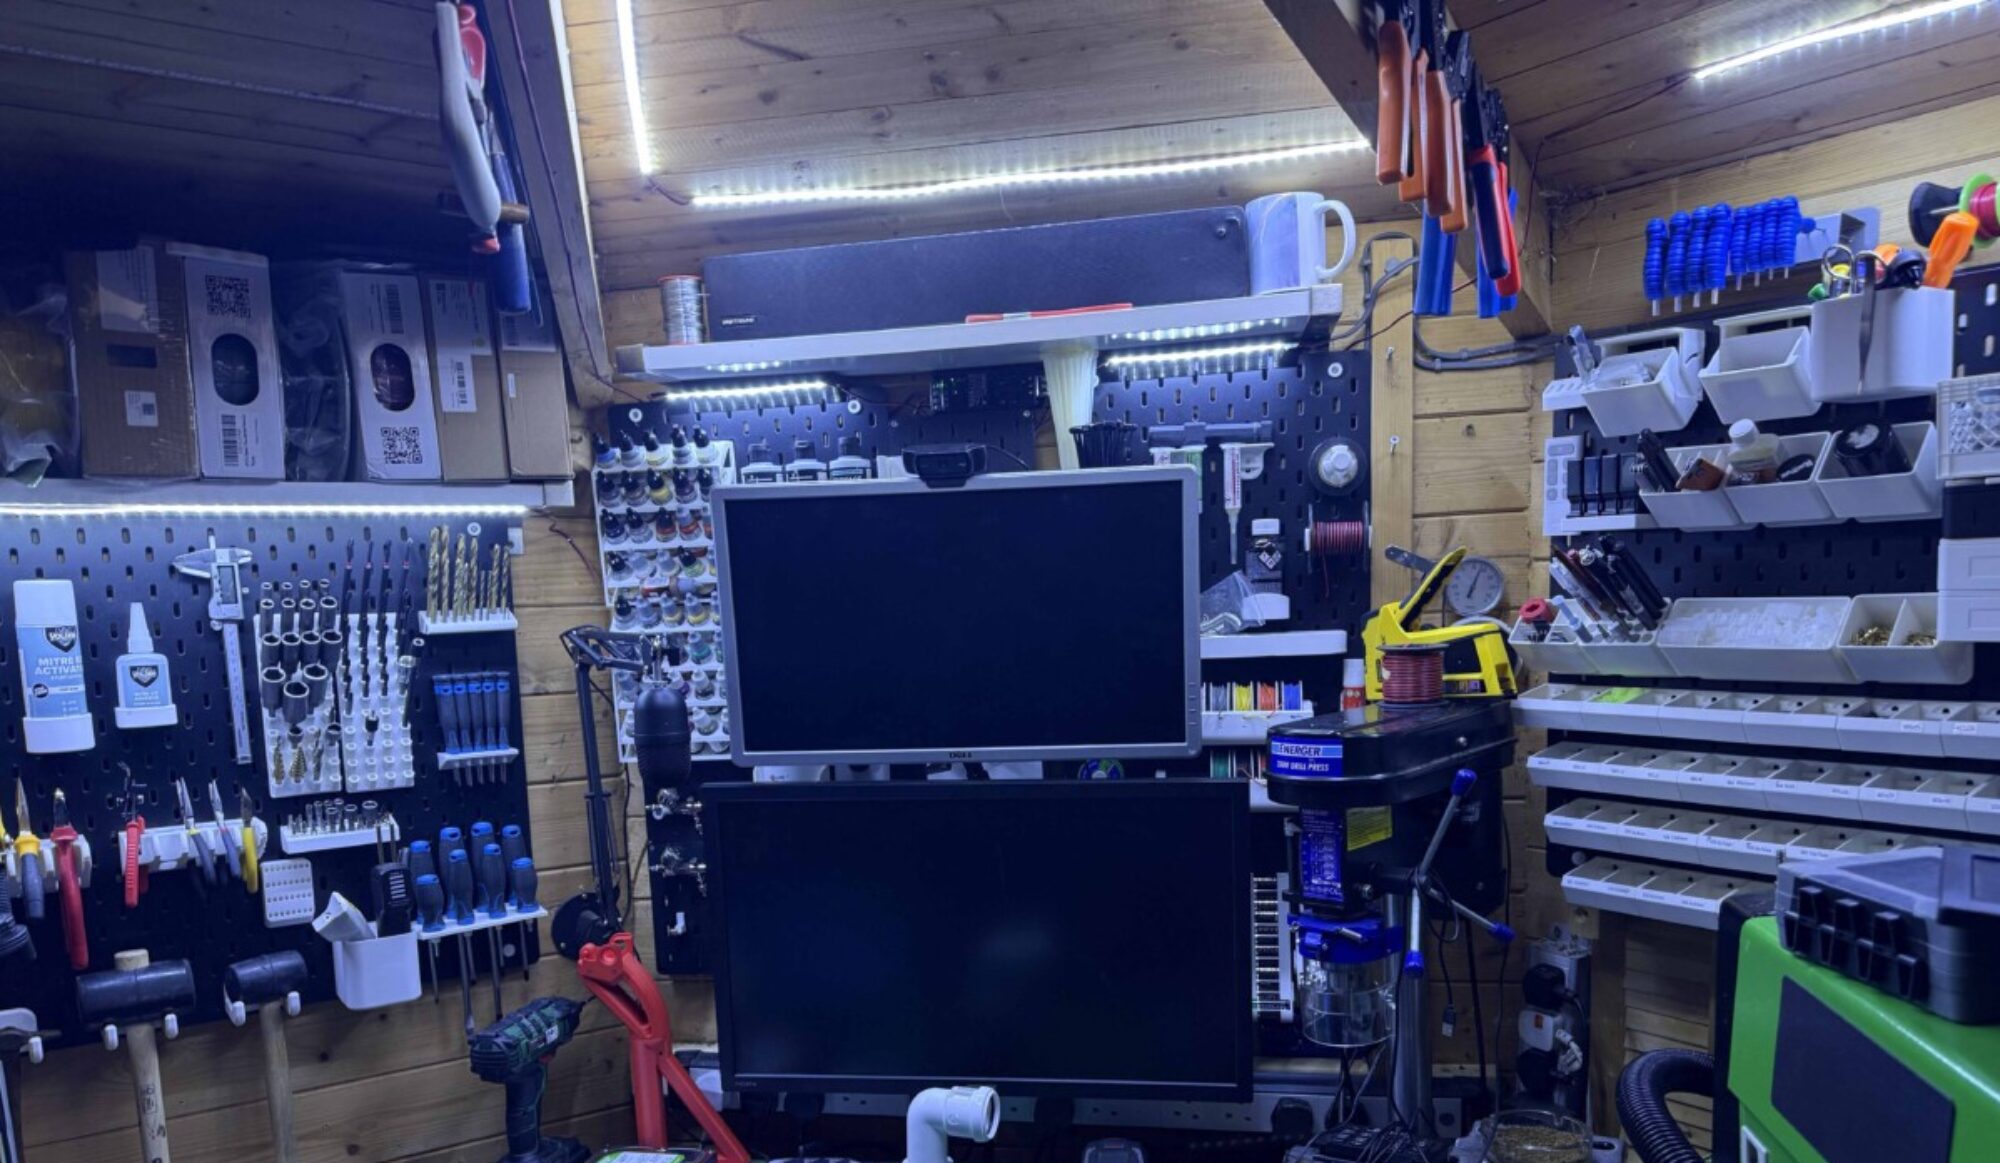
Right as i am waiting for my printer to ship have been getting prepped for adding some mods. so first project will be adding some LED panels so i can light up the printer and monitor the printer remotely. the reason for doing this is the printer is housed in the man cave and as much as i love watching my prints. i also have to do other things when printing. with octo print i can keep a eye on prints and stop failed prints before getting a big mess.
Will cover octo print set up on a raspberry pi 3 in a build project in the near future.

have already sliced the print in slicer for some black PLA the led panels were brought off ebay for a cheep price form Hong Kong and took around 2 weeks to come they are so cheep £2.08

the connectors supplied were for interior lights. luckily the 2 pin connectors that they join to are easily available to buy and have already made up 2 x 1 meter leads. I have been talking with Scott Smith from prusamk2.com who did the remixed on this design for the lights and he has recommended hooking them directly to power supply so when printer is on lights are on. might add a switch in the near future. have seen several other designs but ended up with these as in have ordered the multi material upgrade for printer so will need the space on top bar.
Tools Used:
- Wire cutters.
- Wire stripper.
- Crimping tool.
Connectors / Materials Used:
- 2 x 12V Car 48 SMD White LED Lights
- 2 Pin Dupont Housing Female Free Terminal Connectors.
- 1 Meter red wire x 2
- 1 Meter black wire x 2
Cut wire in to lengths of 1 meter. Strip tips by 5 mm twist and place in to the crimp connector now for the fiddly bit crimp small crimp part on front of connector to hold the wire then crimp the wire sleeve in the second one.
will add some images of the crimping process.
you can then insert them in to connector they will only fit one way. Once i have my printer will document connecting them up to the power supply as apparently theirs a 12v spare connection on it.


You must be logged in to post a comment.