Prusa Mk2s to Mk3s Update

Finally after 4 weeks of waiting my upgrade is here..

So whats in the box?

So after an hour of taking your old machine a part you will get to section 15. So all i need all the stepper motors 2 pulleys the led screen cables and cover if your sticking with the colours and that it. Everything else is new. Oh, and threaded rod lifters missed that.

Next up the printing now if i did not have PETG in my collection I would be doing a 36hr print using the 2 rolls of pet supplied with the update kit. But as i have been prepared for a while i did this in Ultraviolet PETG and Black PETG. parts already printed.

Now to let the fun begin. armed with my own Allan keys and magnetic dish and the free Haribo Goldenbears. That will keep me going time to build my self an Mk3s. this will be over several nights as like taking my time it can be done Quicker but I am no pro.

Y-axis and frame are done

so is x managed to crack a part so going to reprint idler side of the X-axis whilst i have put violate back in my Prusa Mk3s .

I saw when building Y-axis that Prusa has updated belt tensioner. so that’s going to be done overnight as well.

10% in then i can get x finished.

also couldn’t go any further i missed 2 bits off the list of parts and thankfully there in storage so i will need to swing by and grab them tomorrow after stock check at office and meeting new tenants.

so will resume tomorrow loving the colour.

been a stop start as over night parts fitted but then noticed motor end was cracked so reprinted it. 4 hours.

I then realised updated parts need different motor mount as they won’t fit if not. so back to old-style as could not bare another 4hrs print. and wanted to get it built. added the missing trapezoid nuts that i retrieved from the storage unit.

so finally fitted Z motors and rods added X axis to Z axis. and screwed it all done.

Went to start the extruder and soon realised the link i had been given was mk3 not a mk3s so i am now printing over night the upgraded bits.

So that as far as i can go today.

back on the shelf till tomorrow.

parts off the printer and off we exstruder motor monunt fitted hotend installed and magnets for filament sensor all installed. righ now to install the x carrage. oh its diffrent looks like another 4hr print. missing 2 bits as the x carage has 2 parts hoping this i my last delay in the build.

all done hoping last delay

think i might run thought the rest of the instructions and make sure they haven’t updated anything else. pretty sure it was just the extruder they did upgrades on but going to have a quick look.

exstruder all done. time to fit to the frame.

Was a late one last night managed to build and install the extruder fit the PSU and LCD oh and heatbed.

Now on the home straight wire management and controller board and we are done on the build hoping to do that at boys nap time then just pre flight checks and we are good to calibrate.

Wiring and cable management time..

all wired preflight checks done time to calibrate my machint.

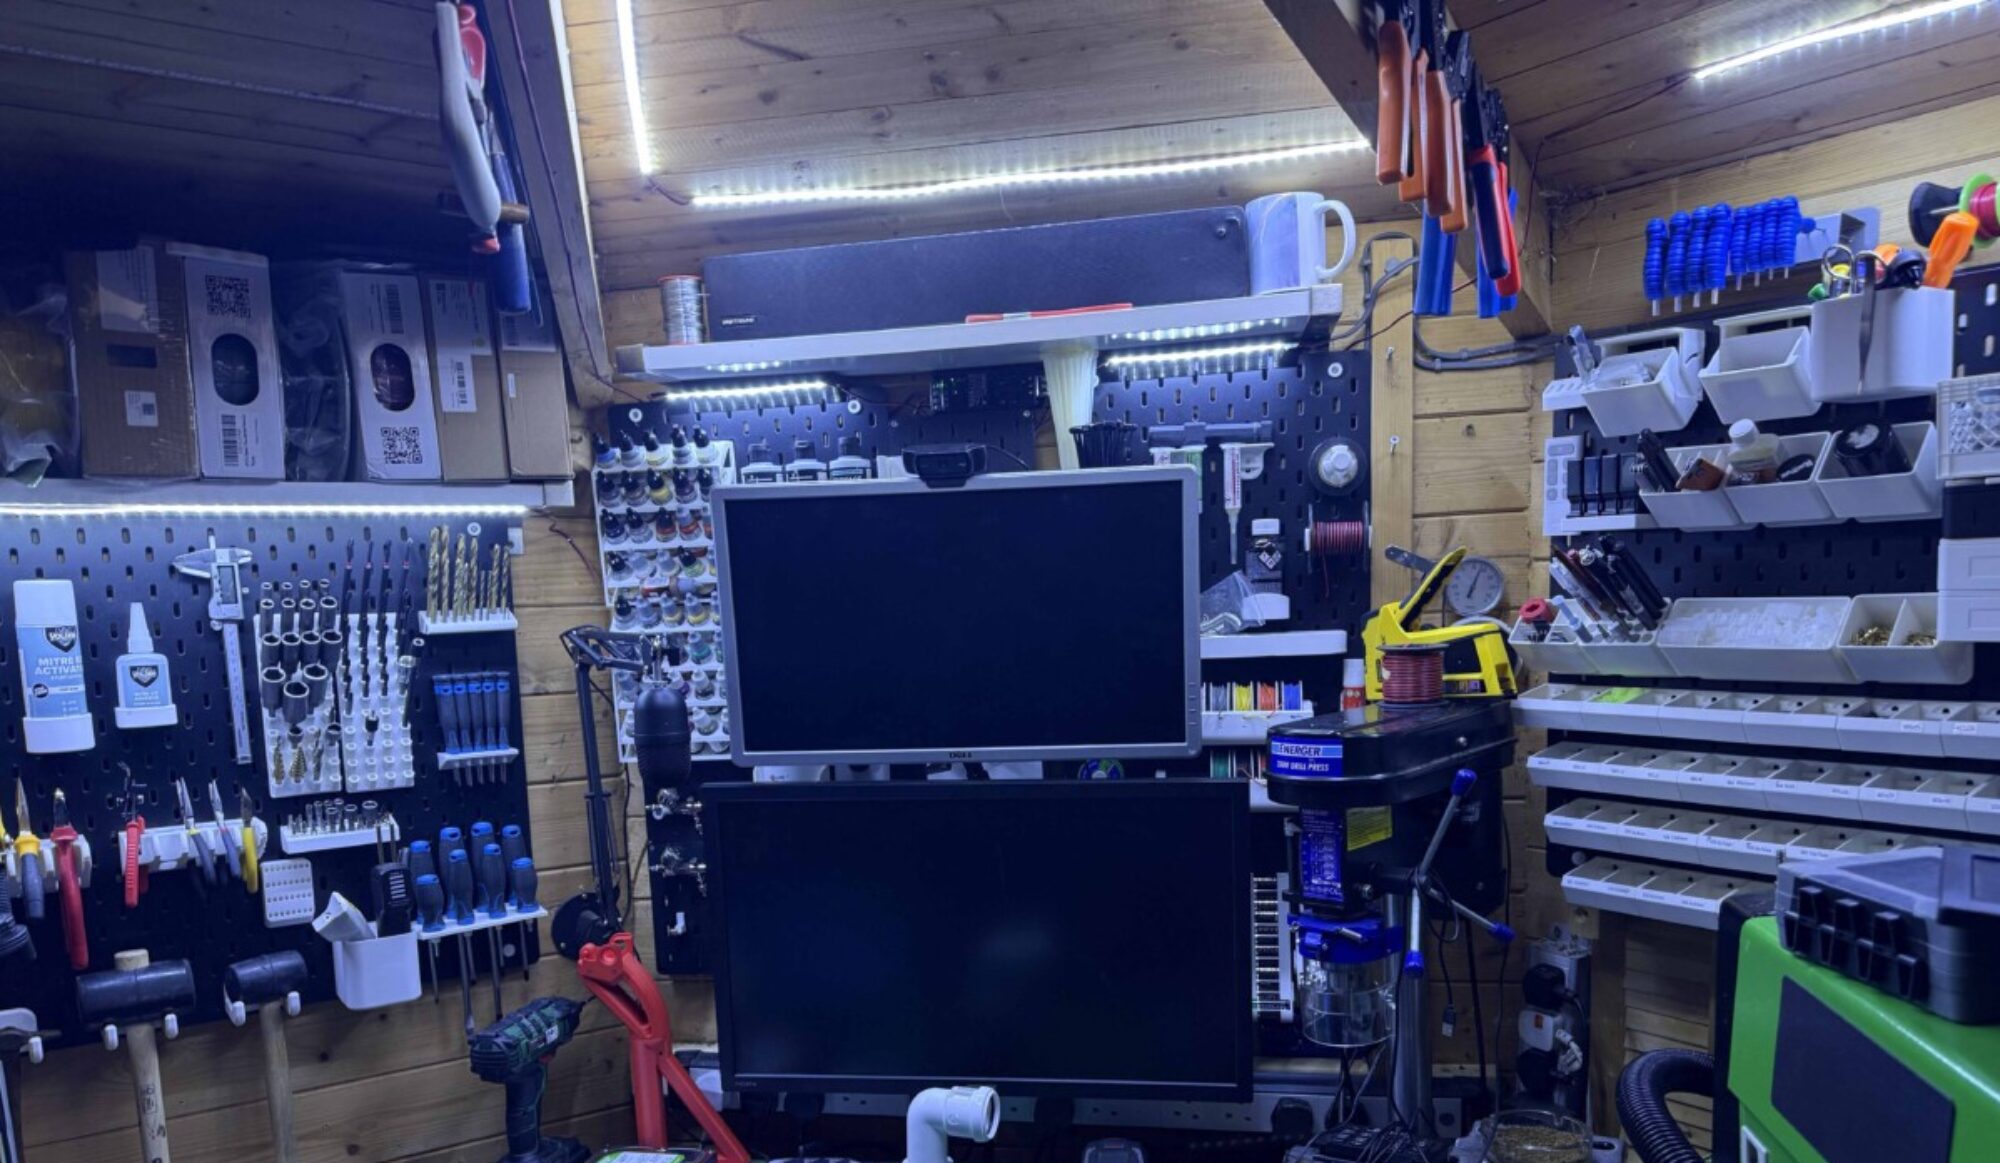
All done and z height calibrated now to home ultraviolet the cave make sure webcam is in the right location and we are good to go. the mark not the screen is as its off old machines managed to damage a while ago but works fine so not going to change it.

Z cablibrated moved in to its home

needs some web camera adjustments do them later.

will do some calibration testing later now to print the spooler in orange and new control knob for neon orange. will update more later. give my summery of the upgrade kit and build.

As last week went to pot

Not setting any goals this week as its a busy weekday job and some RNR. I have got to go pick up some screws today so i can mount my baffle board to window for more tools and space for parts. then got to re assemble gun rack for my air soft weapons and hang some other bit. on new baffle board.

Then depending on time, it’s on to the Prusa Mk2s MMU as I am on a roll of fixing stuff the last couple of week. If I can/cannot fix it will be starting the mammoth print of bits for the Haribo edition as again its bits taking up space that can be used other projects.

Will also be my first time running PETG as a material. hopefully will be easy learning curve.

On other current projects:

Wist, I wait for the EZout probe to clear customs. I am going to run some more calibration prints probably tonight. as did try doing bigger print but had some issues with print sticking to the bed. probably just a tweek to the z hight offset.

over the weekend I have built octopi set up that I am currently getting up to speed via TeamViewer for plugins and adding stream feed to the studio might give it a quick test later see things are running right. once I have finalised that will clone the card and do it for the Prusa Mk3 using the pins off the controller board.

What next up in the cave:

Getting limit switches wired into the CNC machine. then I need to learn how to use it so will probably do this via stream so hopefully will get some help with getting all going.

Well just when i was getting someware 10 steps forward 3 steps back

Been creative on the design front for some side projects i have been doing with the wife, but frustrating week so far Mondays joy ended in probe acting up have fixed some of my issues with the printer as now got no layer shift as z-axis was not level but will need to do some more debugging of settings have got a profile to try as well but I need to fix the issue with EZABL. the highs and lows of modifing equipment.

Think my EZABL probes gone faulty. I have a few more tests to run before I have to order a new one. but has messed with my schedule a little bit.

I am cracking on as I want to get it fixed did manage to get it to crash into new bed last night so slightly annoyed not much damage.

I hoping it’s not a damaged probe will run the M48 g-code command as this should let me know if the probe has gone to the scrapheap in the sky.

But now for some good news

Have managed to get my Original Prusa i3 Mk3 working again there was 1 bit of broken filament in the bond-tech gearing and one in the sensor now all removed and printing well. So currently turning out upgrade bits for the CR-10 at the moment running squash ball feet for it got one more to run tonight I will then run some other modifications. may invest in the upgrade to an mk3s in the near future. but for the time being, I am happy might raise the z hight by a small bit as looks like it scraping on the first layer a little.

Last night I did manage to clear some more junk from the man cave so getting there just the realisation I have too much stuff as I clear it. but can see the floor again.

Thursday items to do tonight.

So tonight I will Hopefuly have some more tinker time with the probe on the CR-10 and I will be installing team-viewer on the cave computer as then can remotely work on the configuration for OBS and Stream pad as a need to get them up and running ready for streaming.

Whats coming up in the cave over the next week or so.

as I am on a roll of braking/fixing stuff will give the Original Prusa i3 Mk2s mmu ago this weekend as then I will have a mini print farm working hopefully if not I might just turn it back to an Mk2s only and sell on the mmu part of the kit. or buy the Mk2.5s upgrade giving me removable bed and some of the mk3 functions just not the 24v parts.

Just ordered a Honeycomb bed for the 50 watt from aliexpress so should have it in the next week or so. This will help me when cutting of plywood should make it easier to do as can use magnets on warped wood. for acrylic I wills till use standoffs.

EZOUT is on its way over from the USA so waiting for notification of it arriving awaiting customs charges. will cover installing that shorlty and document it.

Fun with CNC machine adding end stops to it before i start to play with it properly.. After I have done this can start playing with some designs I have put together and some ideas i have for fun projects along the way.