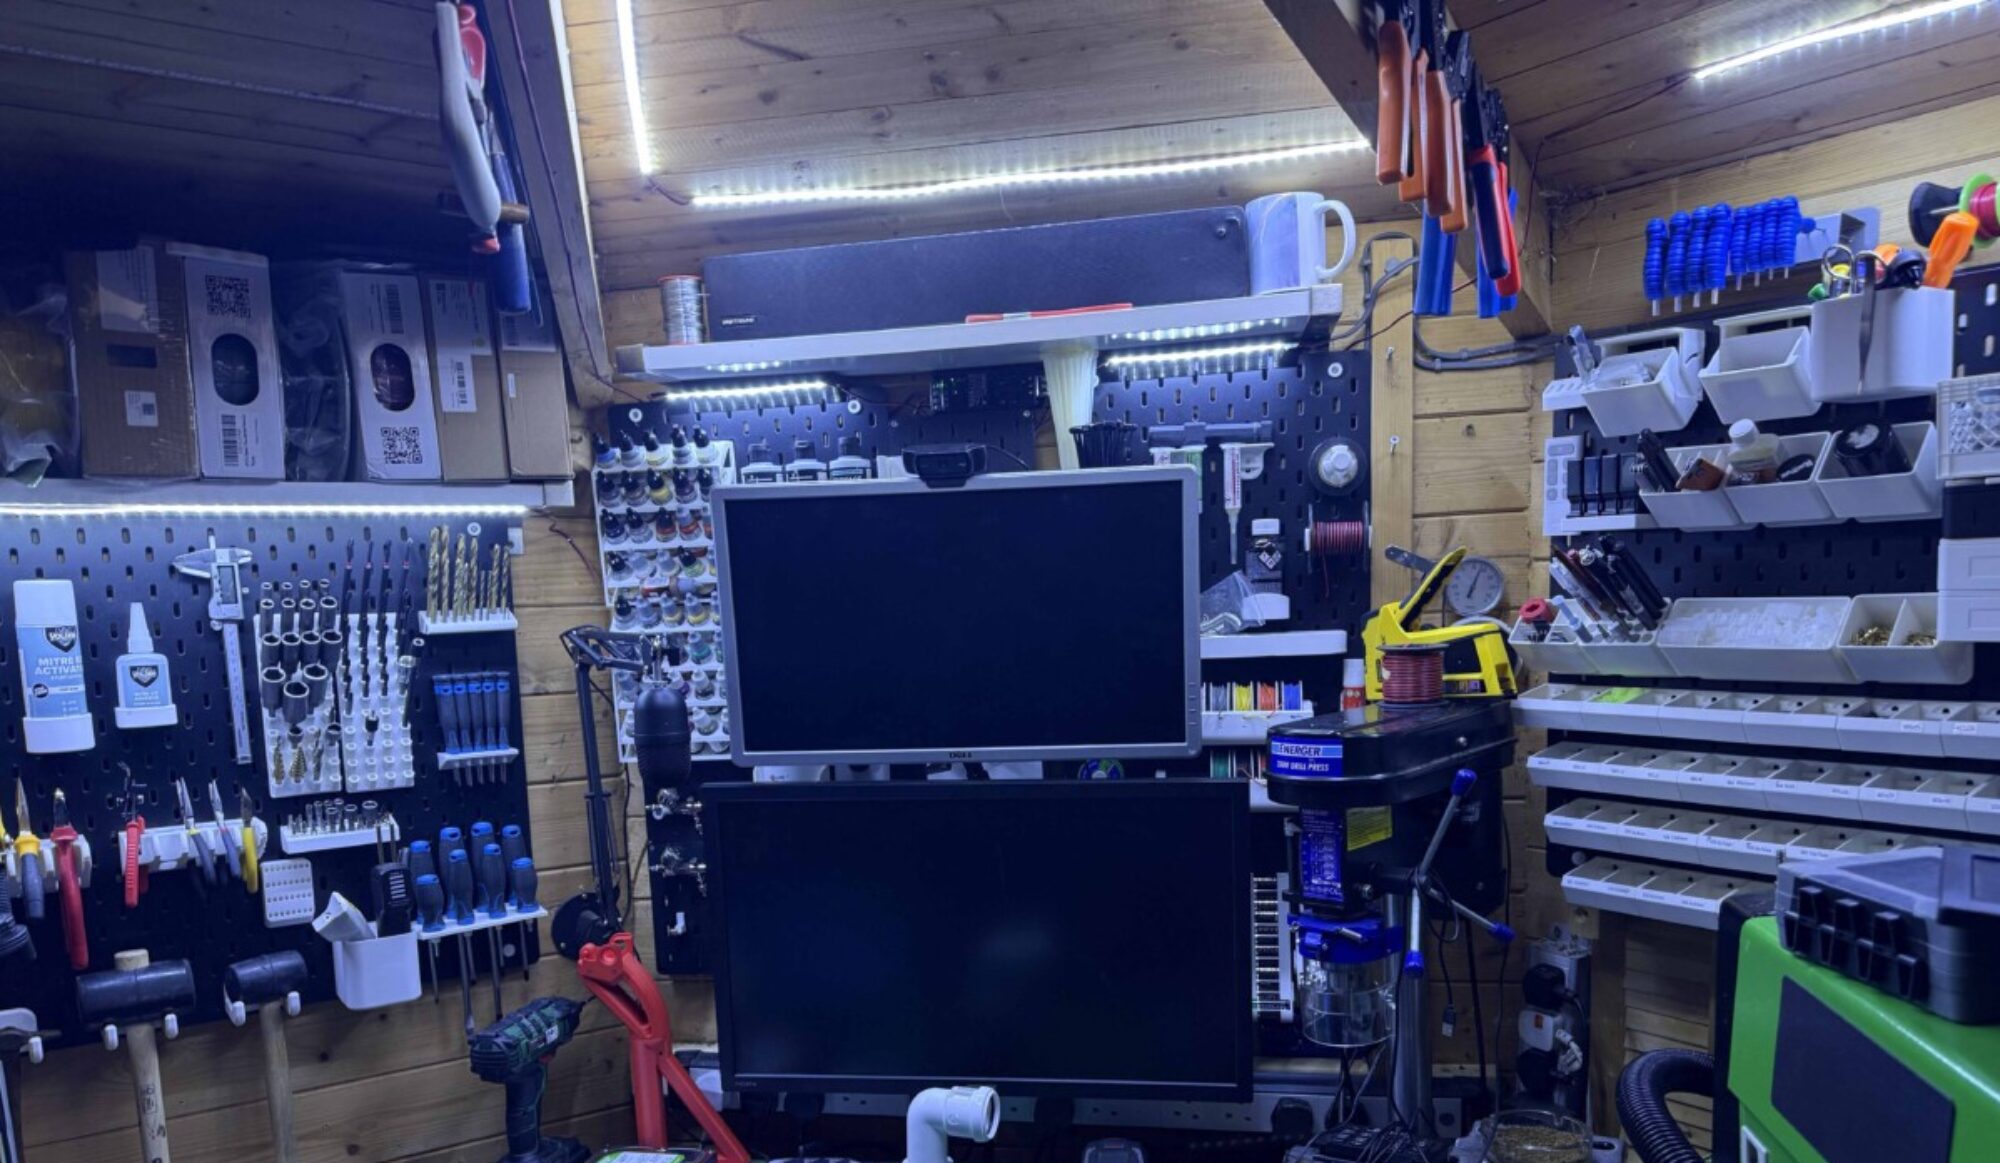
Adding keyboard draw to my workbench

The Problem

Ok, what’s so hard about adding a keyboard drawn to a desk well if my desk was solid wood would not be a be an issue but seeing as I cannot afford a nice metal or wooden workbench I have gone down the 1200 x 600 racking route. and have had to balance my keyboard on shelves under the desk no so easy when the bench is full.

The Idea

had been bugging me this for some time I was going to make my own draw using some wood and draw runners. but then was thinking back to my days in IT when we had a massive server cabinet with keyboard draws. so straight on to amazon. found 3 or 4 possibles but none had the right mounts or size for the keyboard I am using.

I then found laptop draws and that was the answer to my issues. prime delivery next day now to make this fit. been running ideas in my head since yesterday on how to fit it as fits the 50mm gap I have created.

The plan

I am going to cut down 1.8 meters 50×47 mm wood into 600mm lengths 3 of them.

I will then measure and drill holes fro draw mounting points through the wood I will countersink them so I can add bolts flat to lengths will then blot them to the 2 lengths.

the 3rd length I will use to strengthen up the end of the bench will be making a quick release for the table saw, pillar drill and sander. more on that in another project.

I will now measure up the tabletop and drill 3 holes and countersink them into the tabletop will then screw down the tabletop after that is complete I plan to use carpet tape to hold down the cutting mat. well that’s the plan wish me luck

The build

Monday Night:

Hand saw out 3 legs cut. time to test fit them. ok, Need to take 5 mm off each length as slightly too long going to notch out the top and bottom so it fits in the frame. Have one done works just need to set up the piller drill as want my holes to be true then will test fit

I want them sitting nicely in the frame as screws from above will clamp them down onto the tabletop. hold on now waiting on bolts as I could not find any locally so amazon delivery tomorrow. will notch other 2 lenghts tommorow.

Tuesday Night:

Time to replicate the frist length 2 more times and fit every one more time before i put the top back on.

Now to measure drill and countersink. fits like a glove now drill the tabletop. on a roll now to stick cutting mat down as this project done.

The CR-10 demon printer of my mancave

this was a workhorse for a few weeks then it drove me mad I treated her to an upgrade worked for 5 mins and threw its toys out of the pram.

brought it back from the attic as needed the space for a server so for 6 months it’s been kicking around the floor of the man cave or I keep stepping on it.

so today is the day I either fix it or it goes to wales as times run out for my cr-10 I only want working equipment in my cave as space is tight.

So what’s wrong with it well had something fail on the heat bed as it’s spiking the temp to 800c it’s not 800c is 25 max and the printer won’t work.

now have replaced the MB(motherboard) with a newer one then flashed the latest firmware. so it’s time to dig further. I purchased some cheap thermistors from my mate ammy (amazon) who don’t get my wife’s humour.

Time to start took old thermistor off the silicon heat bed, I will silicon new one in place if this fixes it I spliced the wiring from old to a new one I then soldered it in place switched on the control box registering 730c hmmm so came indoors and took the control box ti bits and plugged thermostat directly in the motherboard and powered up all is fine. so going to wire up a new wire from the heat bed to the aviation plug.

fingers crossed as will then modify my machine some more as it’s time to make big prints again. will figure out the updates shortly. once I have done a test print need to order 1 part that will be with me today.

So soldered back to the plug and 730c again think I am going to check the control board to plug the connection. been thought my notes pin 1 and 2 are definitely the thermistor.

so it’s going to be from the control board to the aviation plug so time strips the box back will get to the bottom of this. have ordered 2 aviation plugs just in case.

duff plug or connection but as it has been gunked I have soldered in a new plug and put it all back together and it’s now working now to rebuild the printer.

On a side note, I have 8 upgrades so far I wanna try in my Aliexpress basket I wanna try so let’s hope I can fix this bad boy. as once working will hit the buy button and end of the month should make for a hell of a project or headache. A sneak preview of what’s on its way from China.

I will also look at some other mods for the control box as it’s big and bulky and takes up room in the and space is tight in the workshop. but more on that later.

Why I love 3D printing

When you know how to make 3d models and prototypes 3d printer is one of your biggest assets in the small workshop. this whole project took 4hrs 30mins to complete from idea to finished working design and 4hrs of this was the print time.

Back story

As I am currently waiting for virgin media to fix an issue with my router before I can make the new website live as need to port forward from the VR machine. So to make sure i can just start to work on projects I am re-laying out the workshop. I have had tools sticking out of dump bins as I didn’t have a space to place them it’s got a little out of control. so back to the problem at hand and the point of this post.

The issue

Bocsh Wireless glue gun never found a handy spot for it. so last night after pulling out my callipers for some ruff measurements. I decided to make a handy wall mount.

The Mount Design

So fired up fusion made a 40mm circle and extruded it to 55mm then added a new sketch and made a new circle 35mm at on end of the cylinder I then cut into the cylinder 30mm I then added a 5mm hole through the middle and then using a bevel tool made a cone to exit.

I then flipped the design on its side and made a 55mm x 30mm rectangle I then moved it from the central axis to the outer edge of the design and extruded it by 5mm I then added 2 countersunk holes. by using a circle tool and the bevel tool. Now to export it to print.

Now to drag it into Prusa slicer and slice away made this design so won’t require any supports of rafts to print. printed with 25% infill. gcode ready for upload to octoprint. Away we go overnight parts was a 4hr print left it going as having rigged up relays for the lights and power of my printers so once completed it will shut off.

The next morning – The result

As you can see worked flawlessly apart from me being overzealous with my talk driver screwing it to the wall. but it’s perfect for my requirement.

My next job is to add a keyboard draw to my workbench using the track system but need to go grab some bolts and 50mm x 50mm wood from the local hardware shop.

Still working just not had time to post

Wow, September already has lots going on back in London just doing a winter clean in the mancave. as has been come a bit of a junk pile as lots scrap around packaging and just too. tight on space. so I have been taking bits into storage or down to wales each time I drive down.

as want to do more with my CNC machine and get the print farm set up with my old cr-10 in the mix as well.

So changing configuration around in the shed. also having to rebuild my workshop computer as it died a death. I will be swapping over to the new site. just got to set up a host machine. get the new web server up and running. also going to redesign the site as was not 100% happy. so for the time will continue on here for time being.

But will be covering some repair blogs about fixing min temp on neon orange hoping it’ an easy fix do have a spare thermistor if worst-case scenario. I also think it’s time for octoprint rebuild and some cleaning of equipment and repositioning of the pi enclosures.

so long and short there will be some more content shortly. do that.

list of upcoming blogs

CR-10 can I fix this gremlin and get it printing the way I want as it’s been under my feet for a few months now. first up the heat bed going to replace the thermistor and see if that fixes the issue. if not will work will then upgrade the machine more to come on the mods later.

how to make workpieces jigs with a CNC machine. wife has been out buying gift ideas for Christmas so I want to be able to customise them with the laser. so going to design and cut a jig using a CNC machine. using fusion 360.

Making custom gifts with the laser and a bit of a walk around lightburn software. also going to get my rotary out and try some glass etching with the laser.

more updates and when.